Build Log: Purple X-wing
I built a 1/72 Bandai X-wing and painted it purple. Here's how.


As always, full resolution images are available for download on my Flickr.
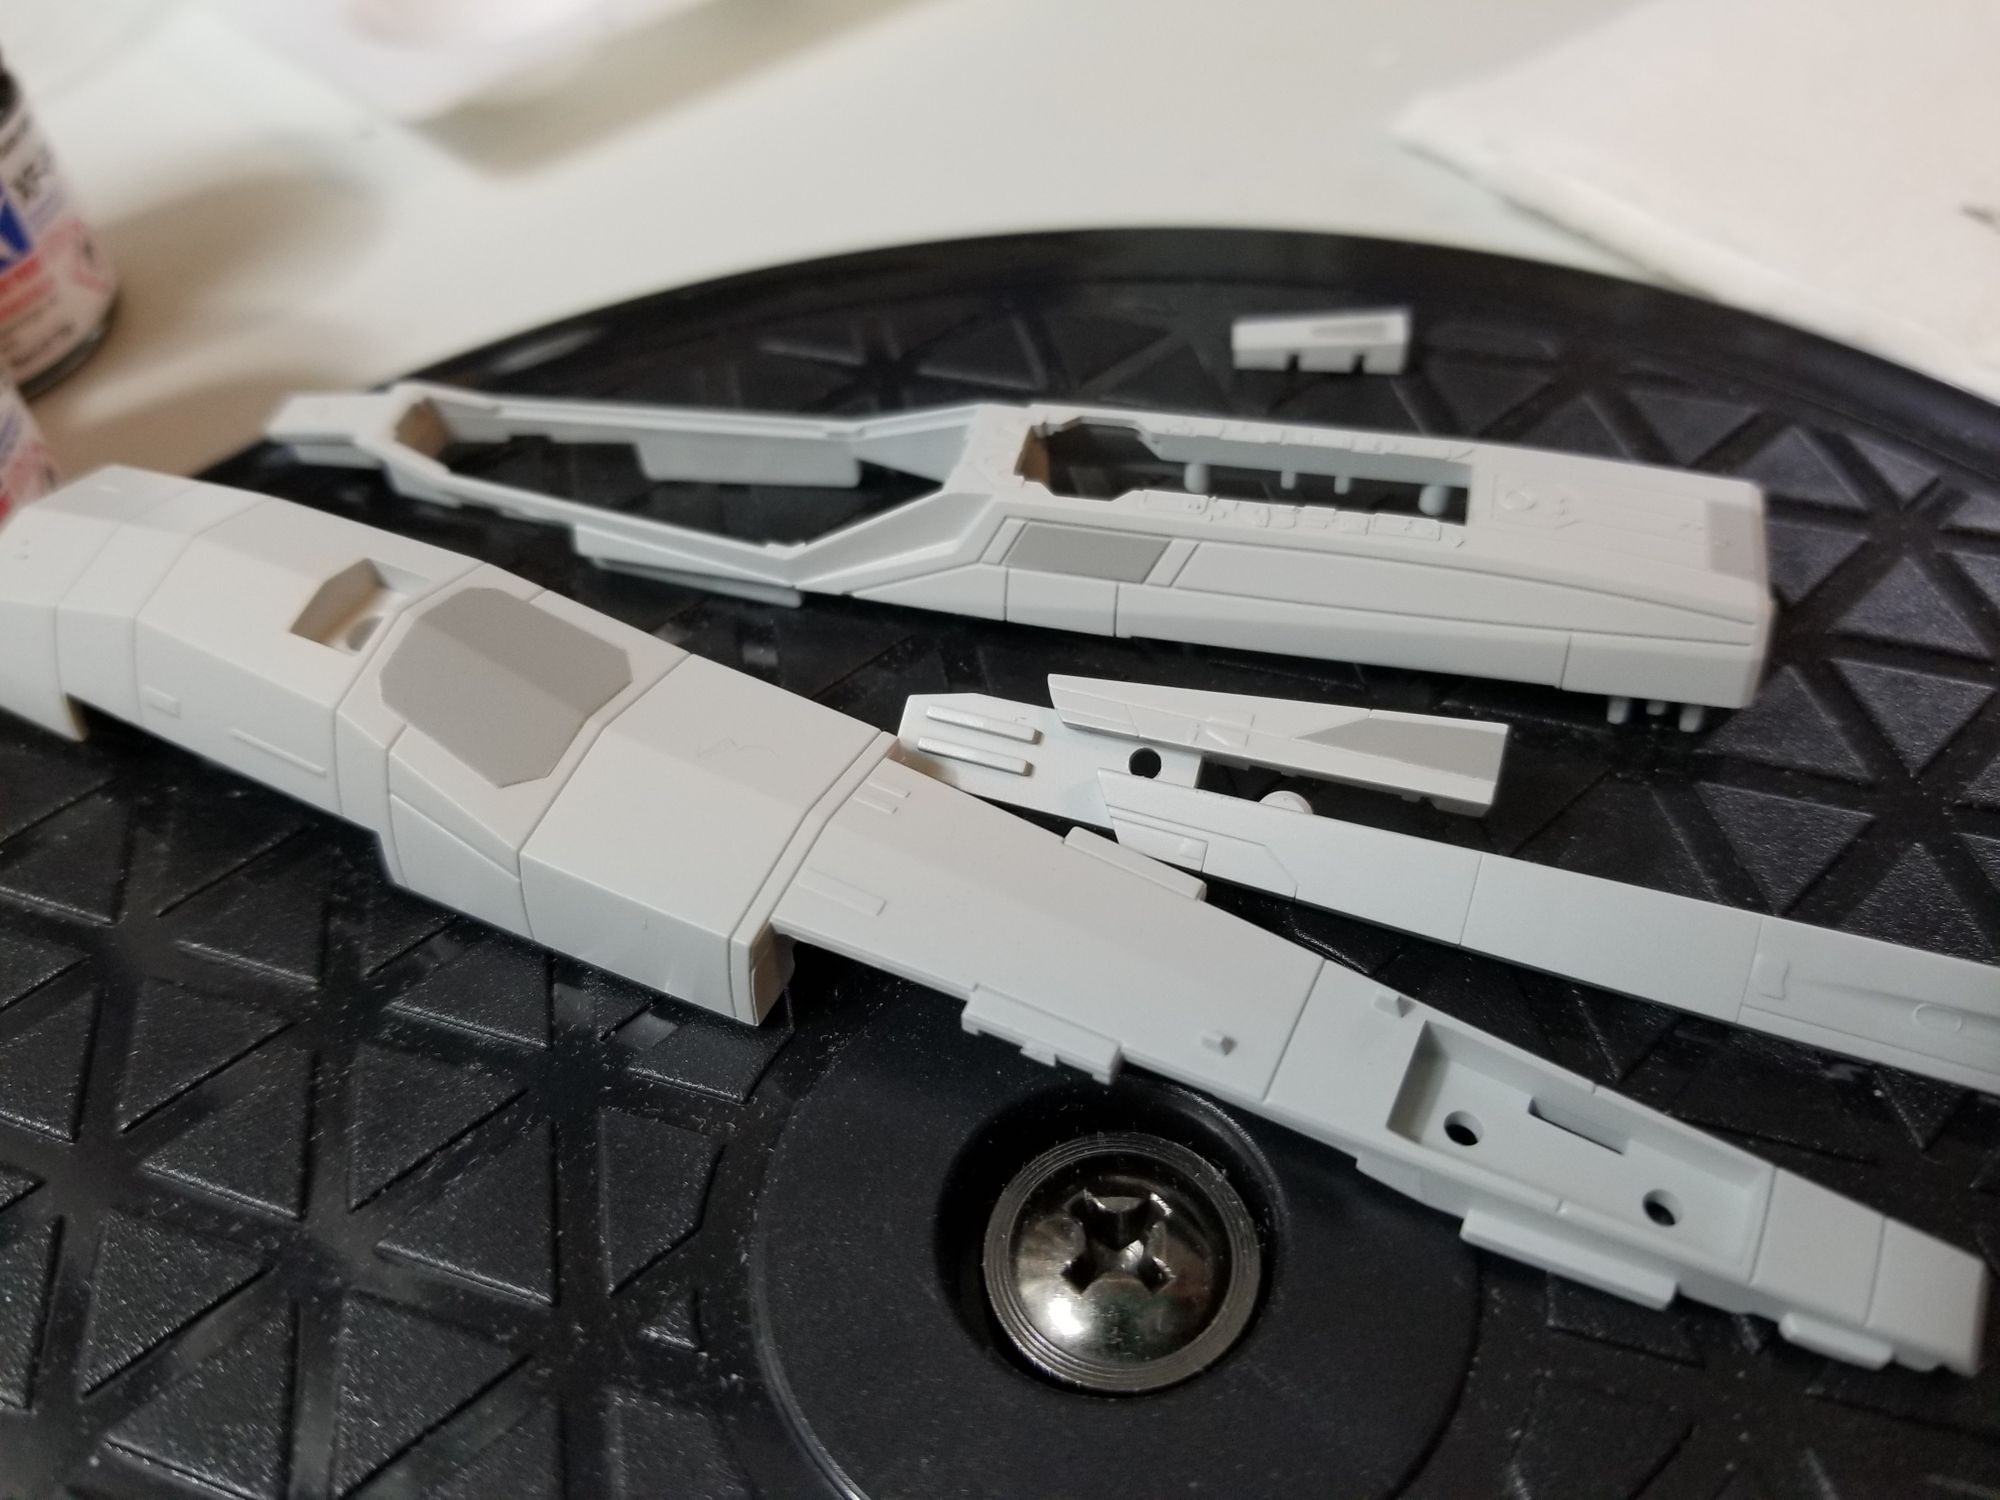
The Bandai 1/72 scale Resistance X-wing caught my eye a few years ago. Last Christmas I was fortunate to receive one as a gift. These kits have some incredible detail out of the box, but they look VERY unfinished.
This would look OK on a shelf, but even compared to a snap-built Zoid or Gundam, it leaves a lot to be desired. These Bandai Star Wars kits beg to be painted and weathered. I also just bought my first airbrush and a bunch of paints so I was ready to give this thing the attention it deserved!
Painting
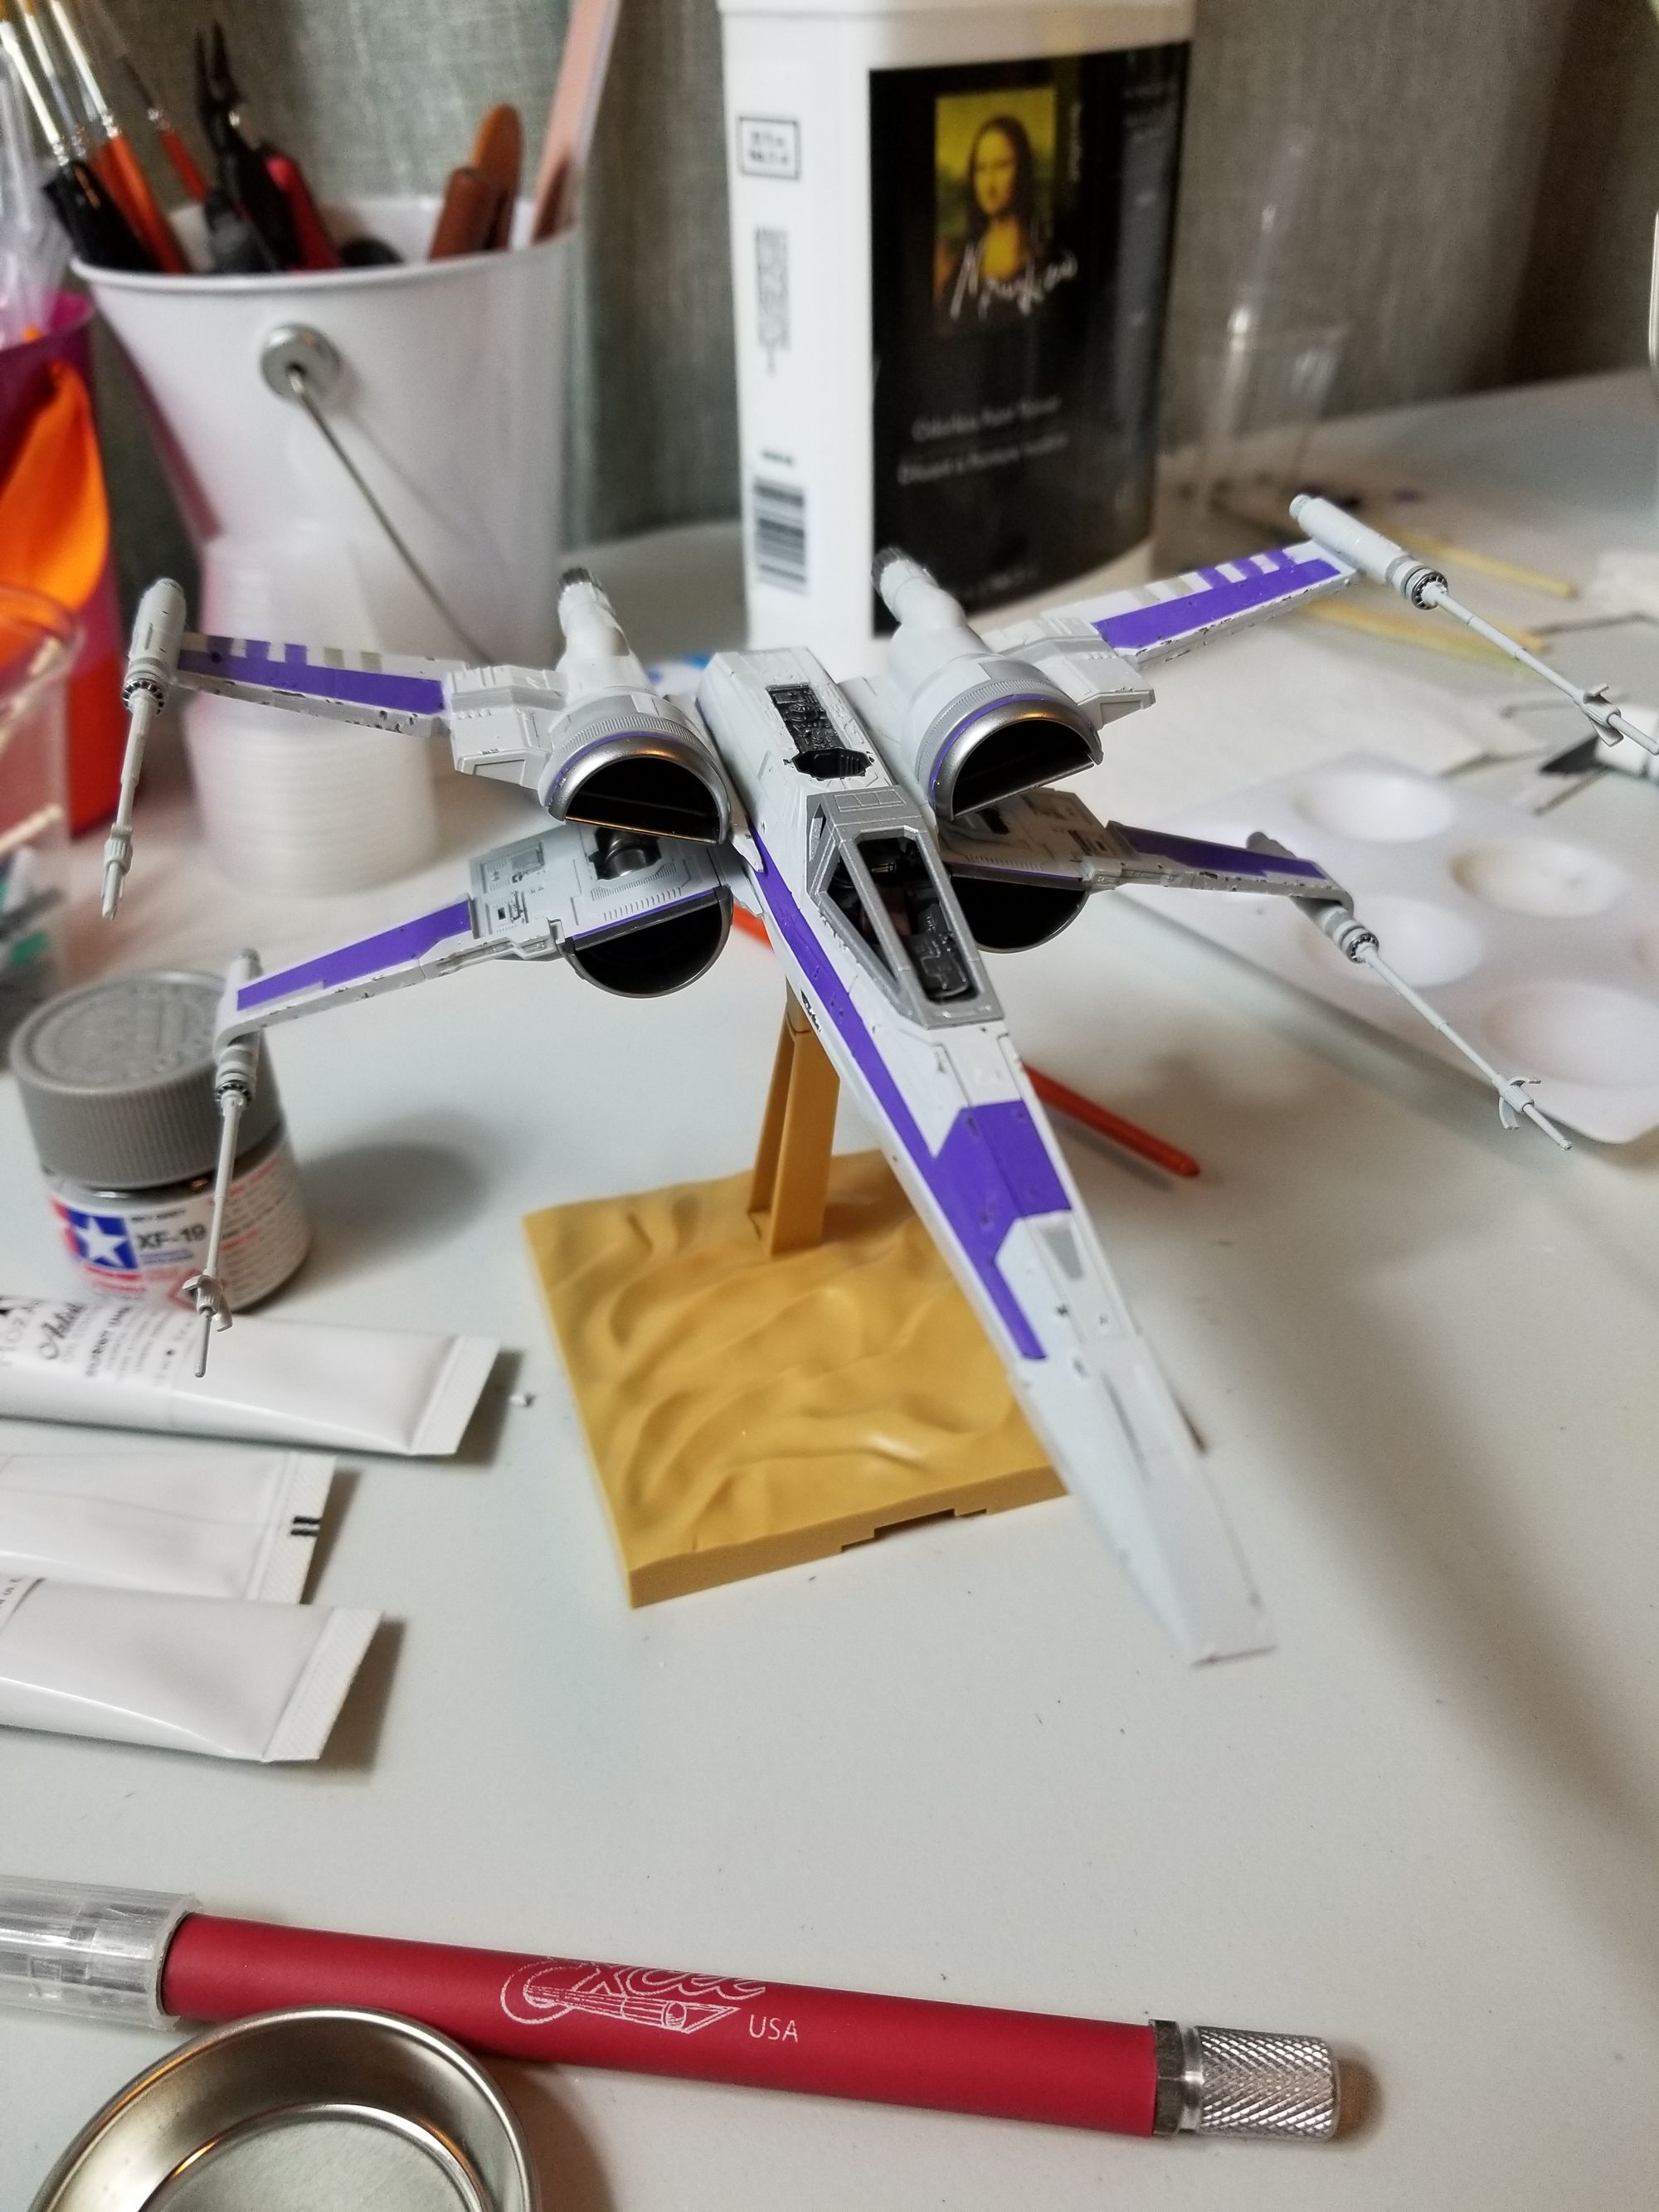
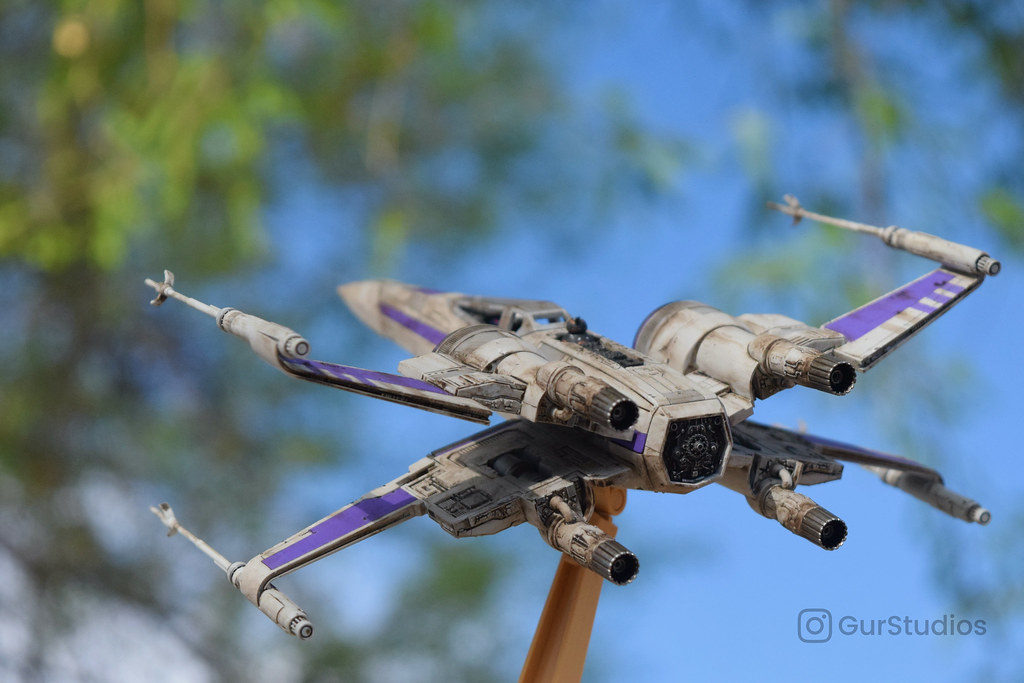
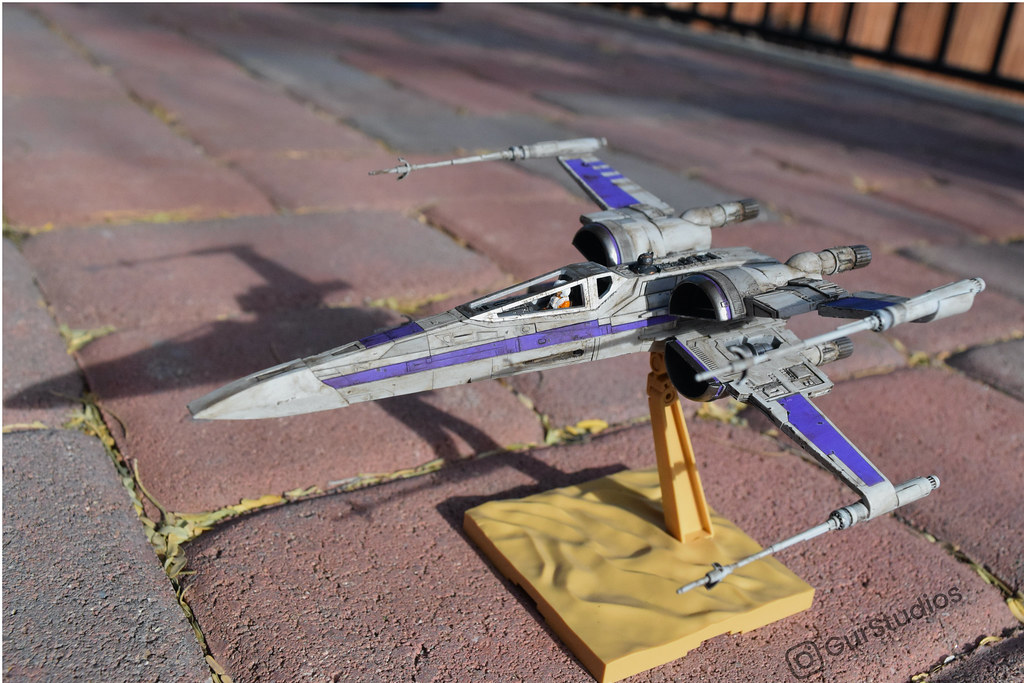
I wanted to keep it fairly stock looking except for the main accent color. I was originally going to go with a pale green until my wife suggested purple. I had never seen a purple X-wing before so I picked up some Tamiya X-16 Purple and got to work.
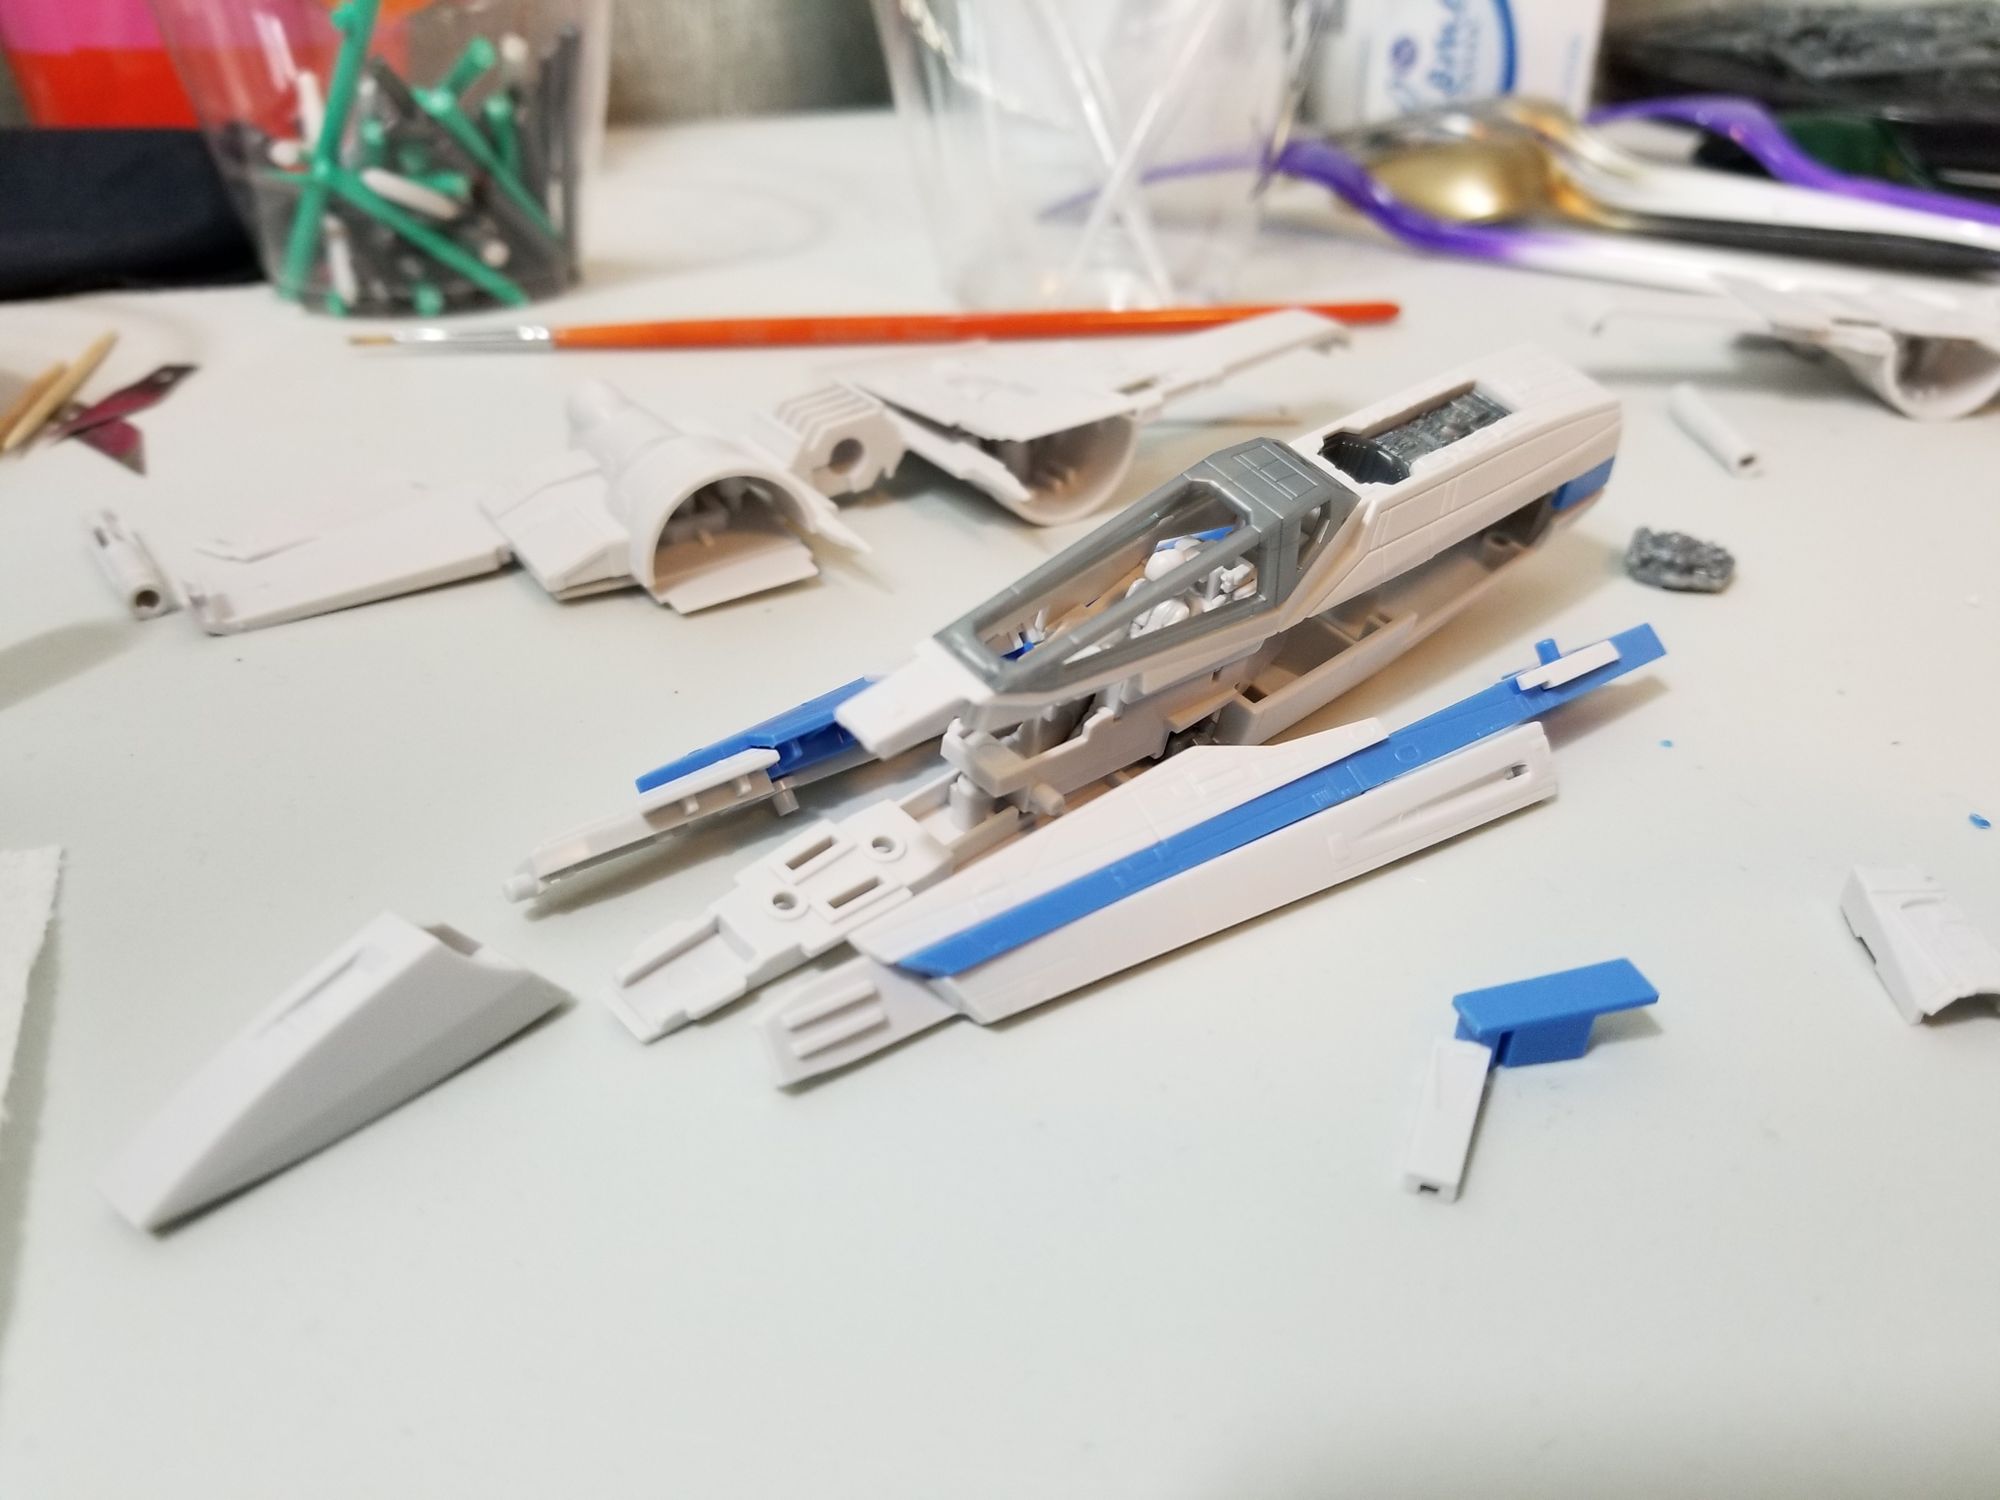
After cutting and sanding all the pieces, I primed everything with Alclad Grey Primer (ALC 302) then sprayed just about every piece with a mix of 3:1 Tamiya X-2 White to XF-19 Sky Grey.
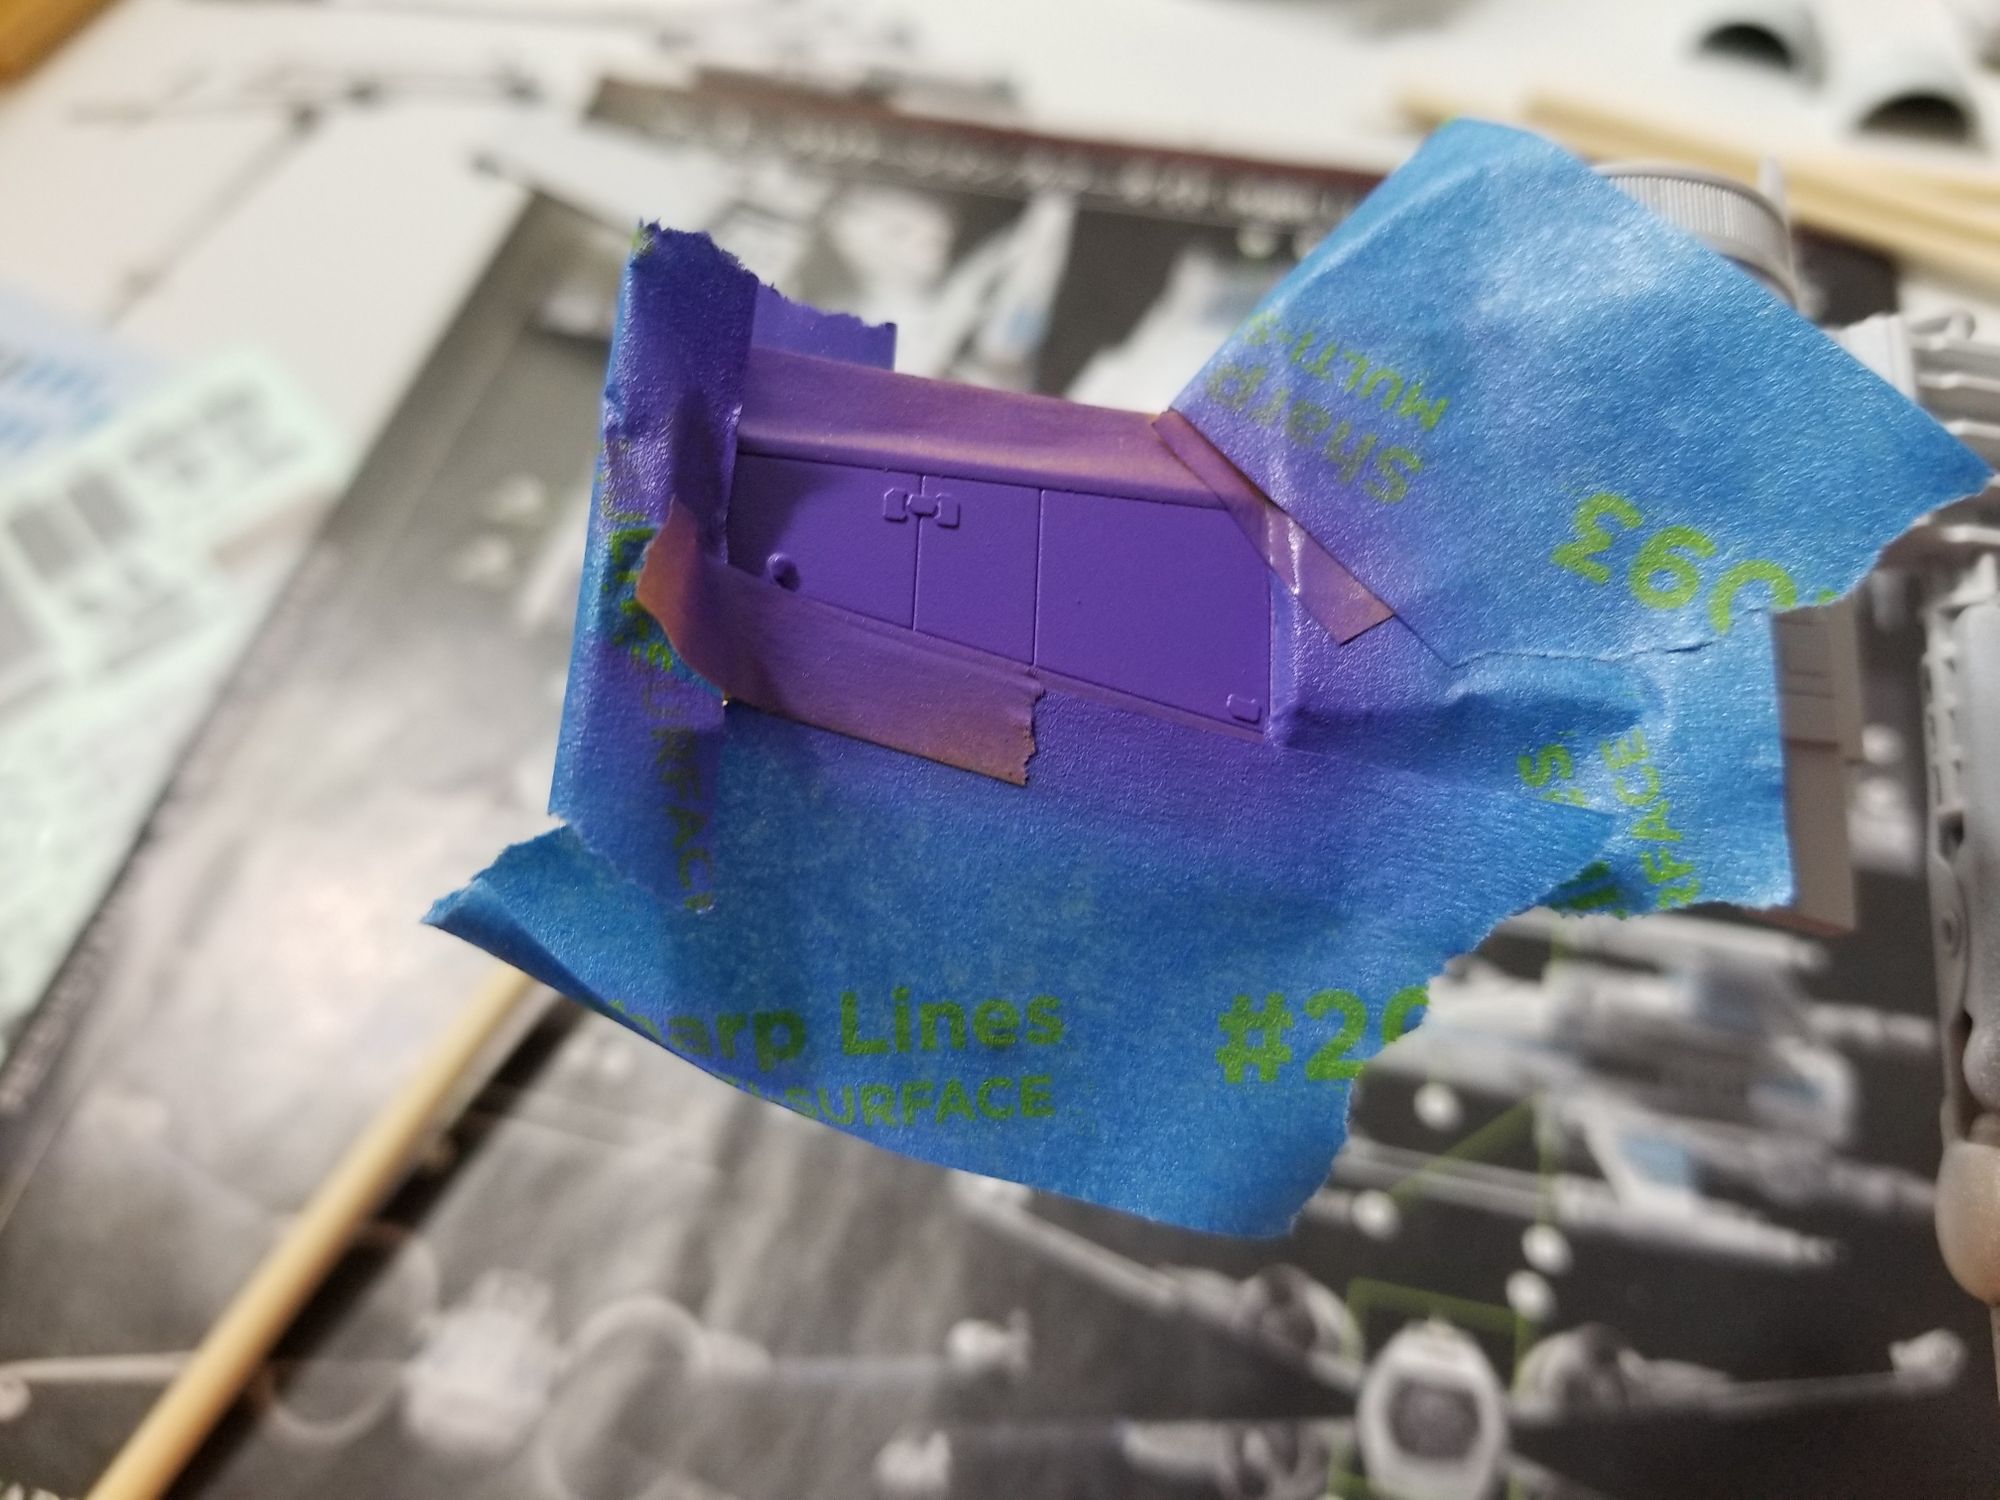
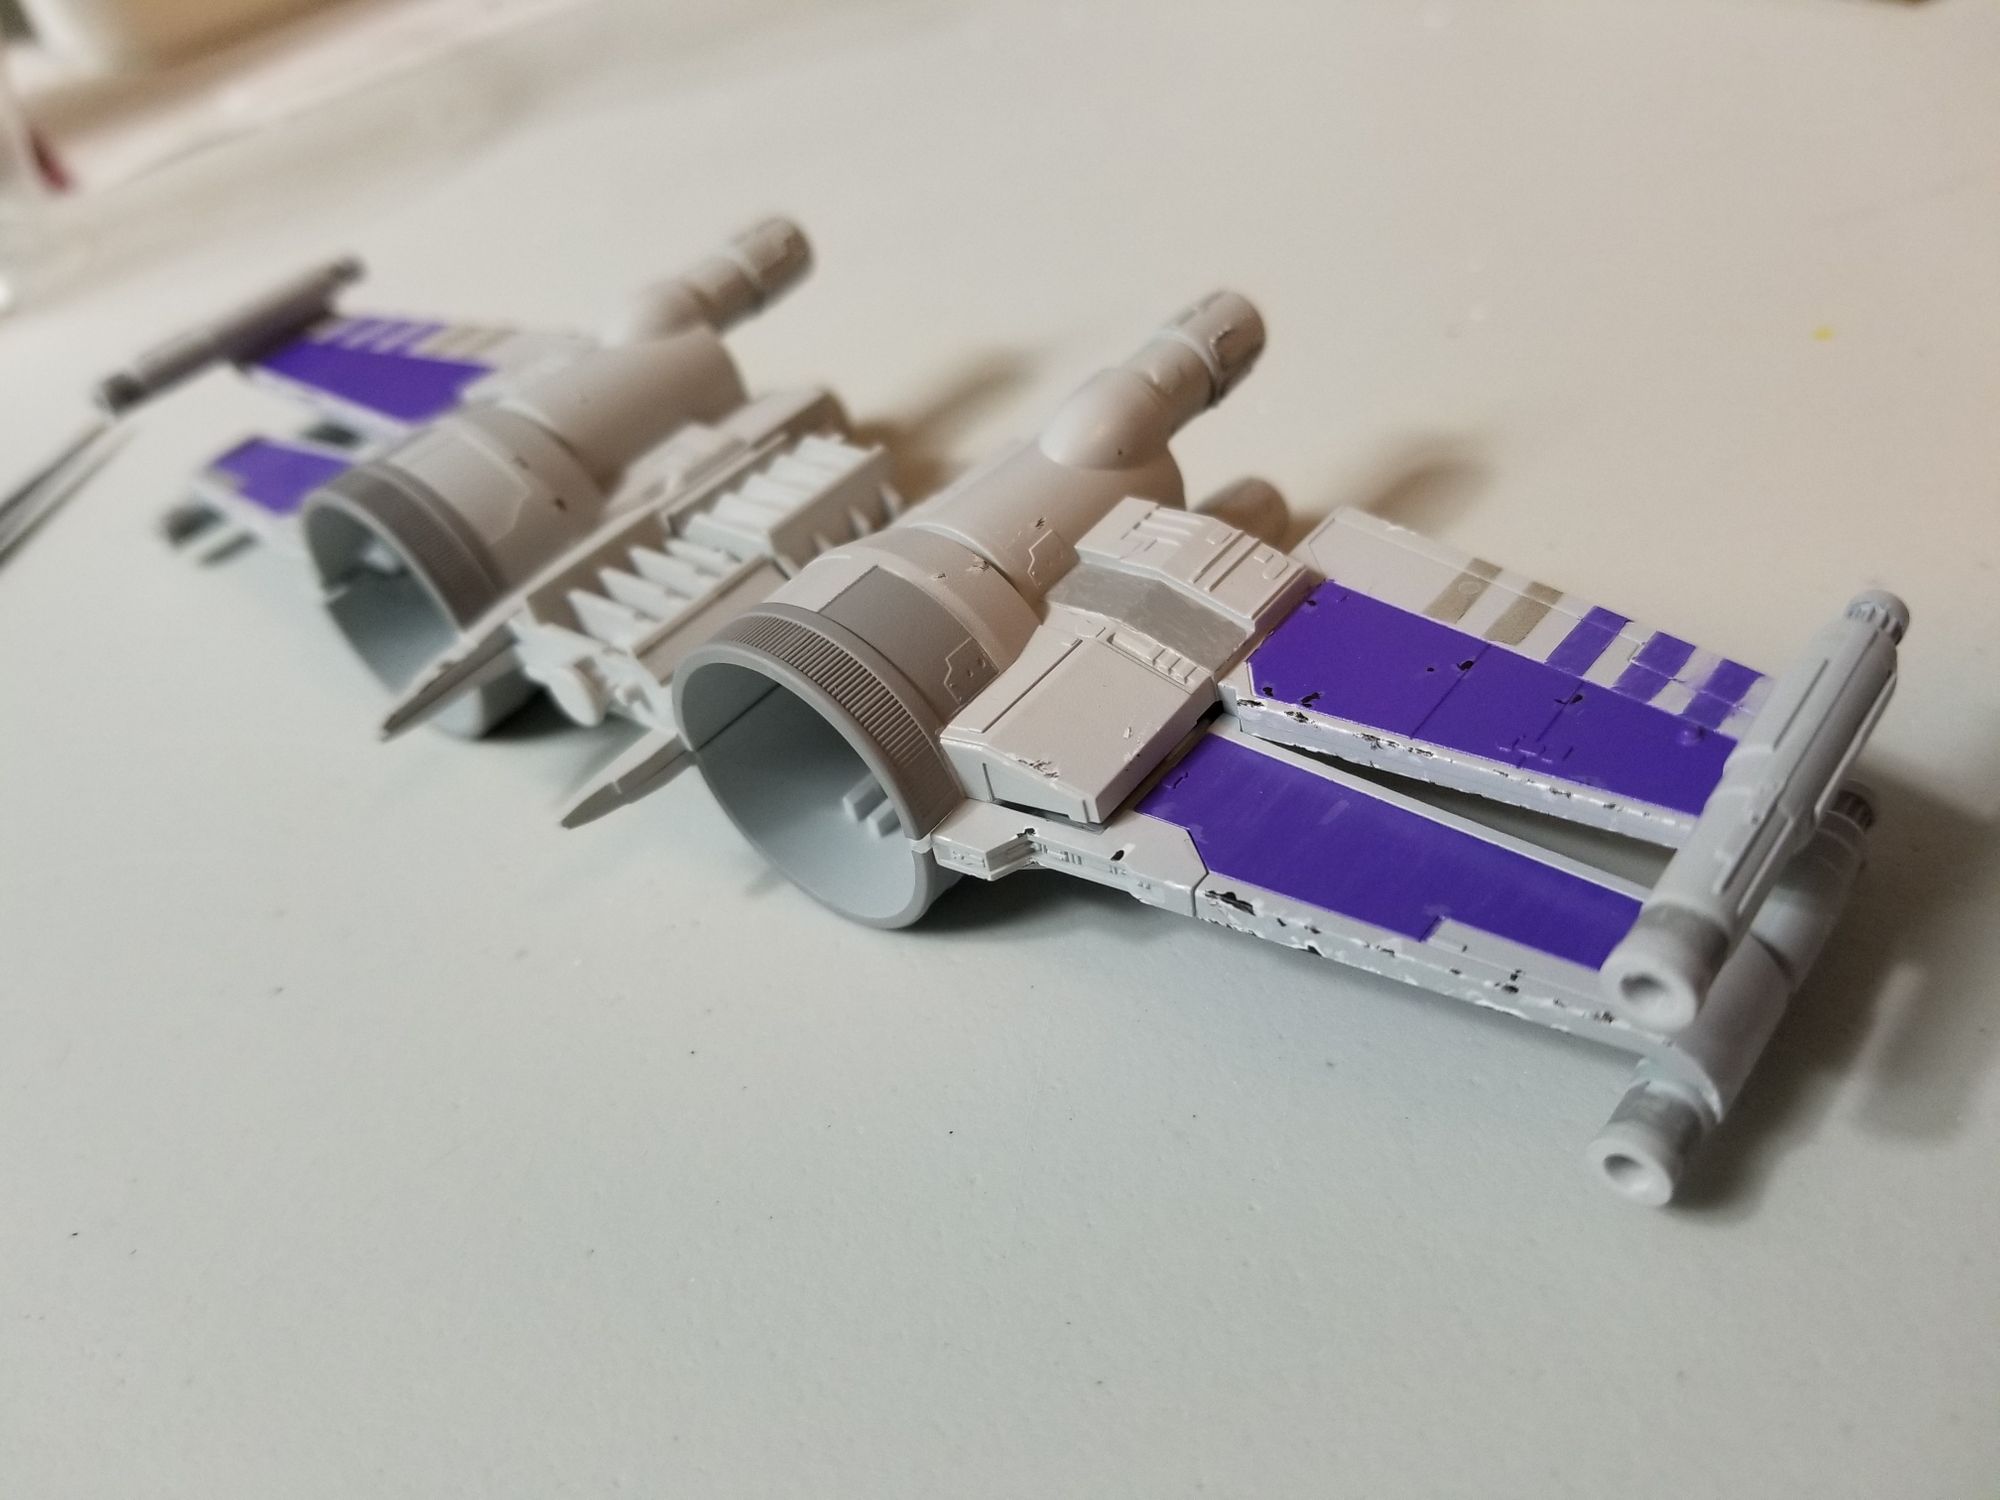
I then used a ton of masking tape to highlight the purple panels. These were sprayed with a 50/50 mix of Tamiya X-16 purple and Tamiya X-1 White.
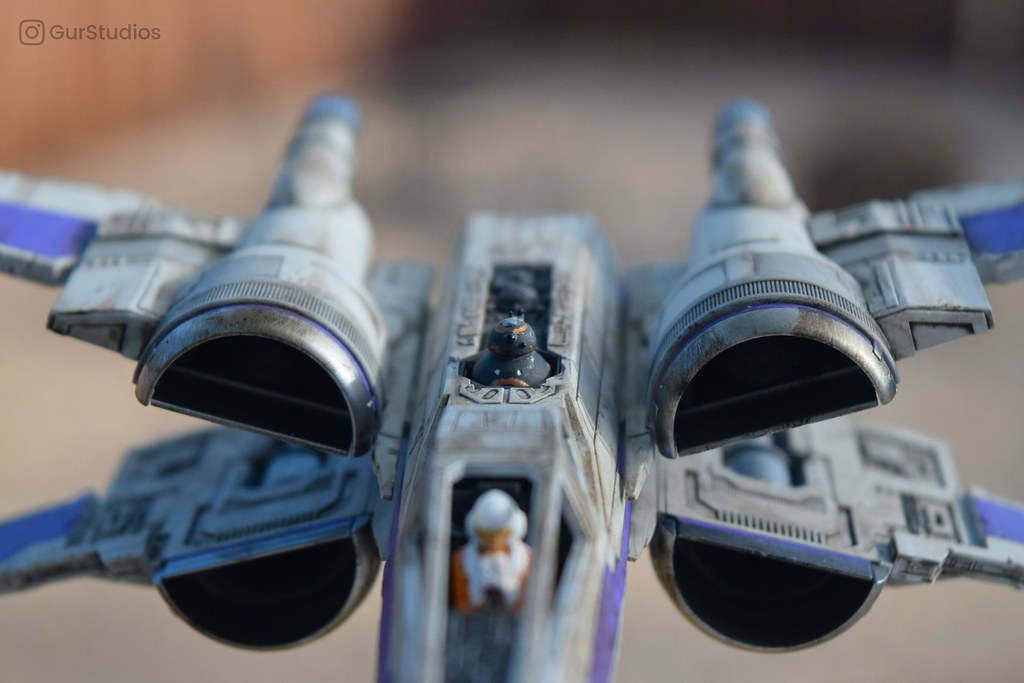
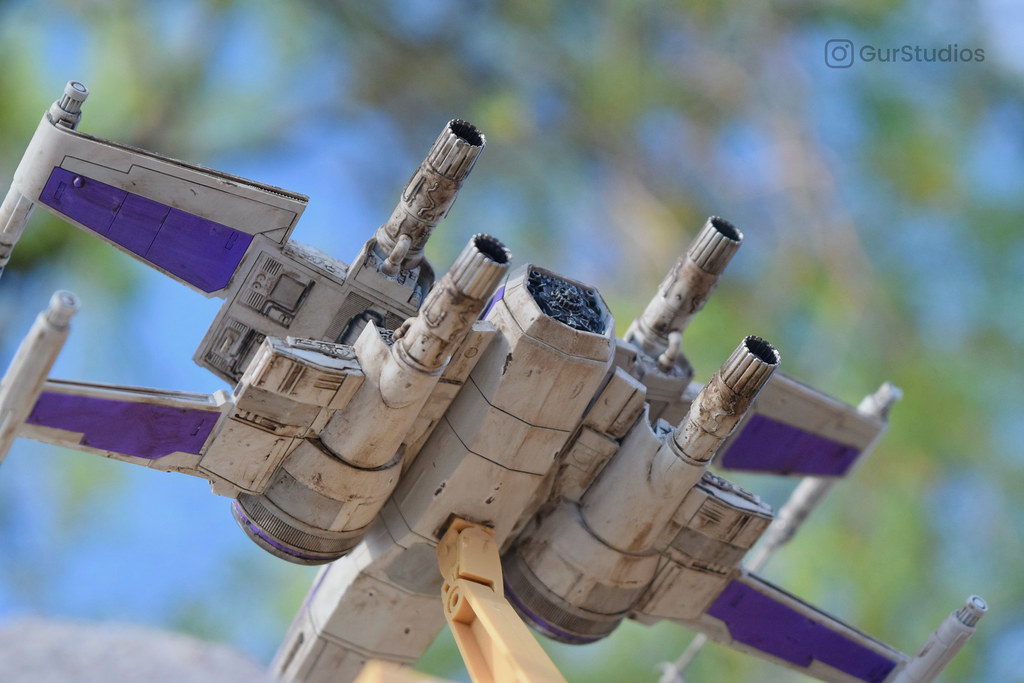
The little enginey bits were painted with Tamiya X-10 Gun Metal... This didn't turn out quite like I had hoped. The black pigment separated in the airbrush which resulted in a much more silvery color than I was expecting.
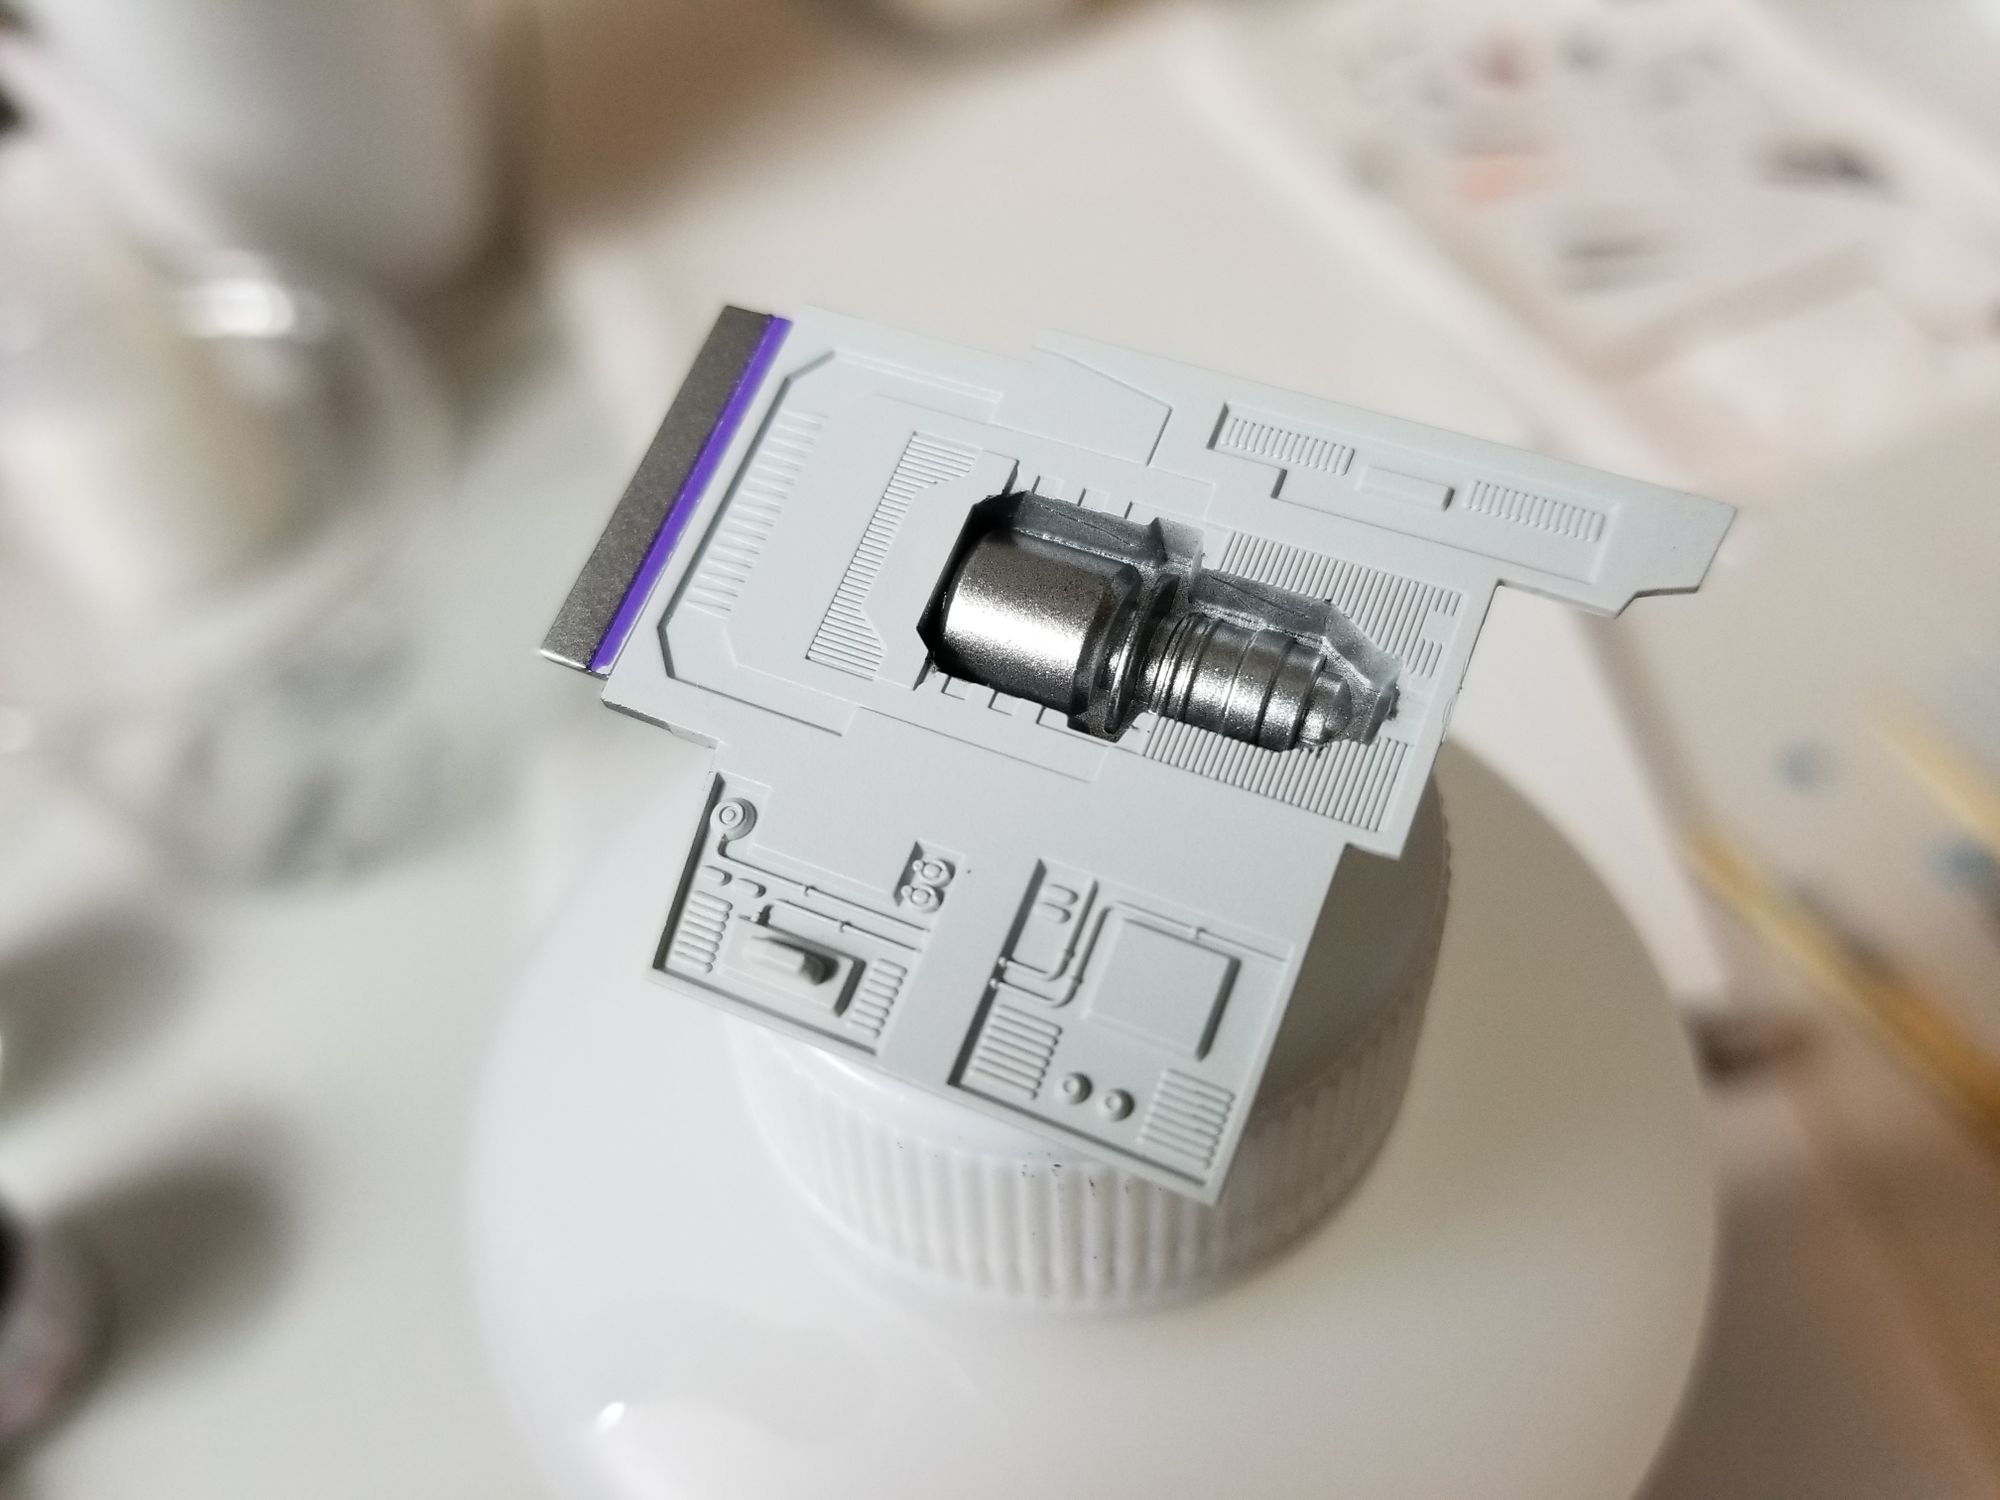
Not quite what I had in mind, but these parts aren't that visible so I opted to continue rather than try again. It might have been my thinning ratios or something. I'm not sure.
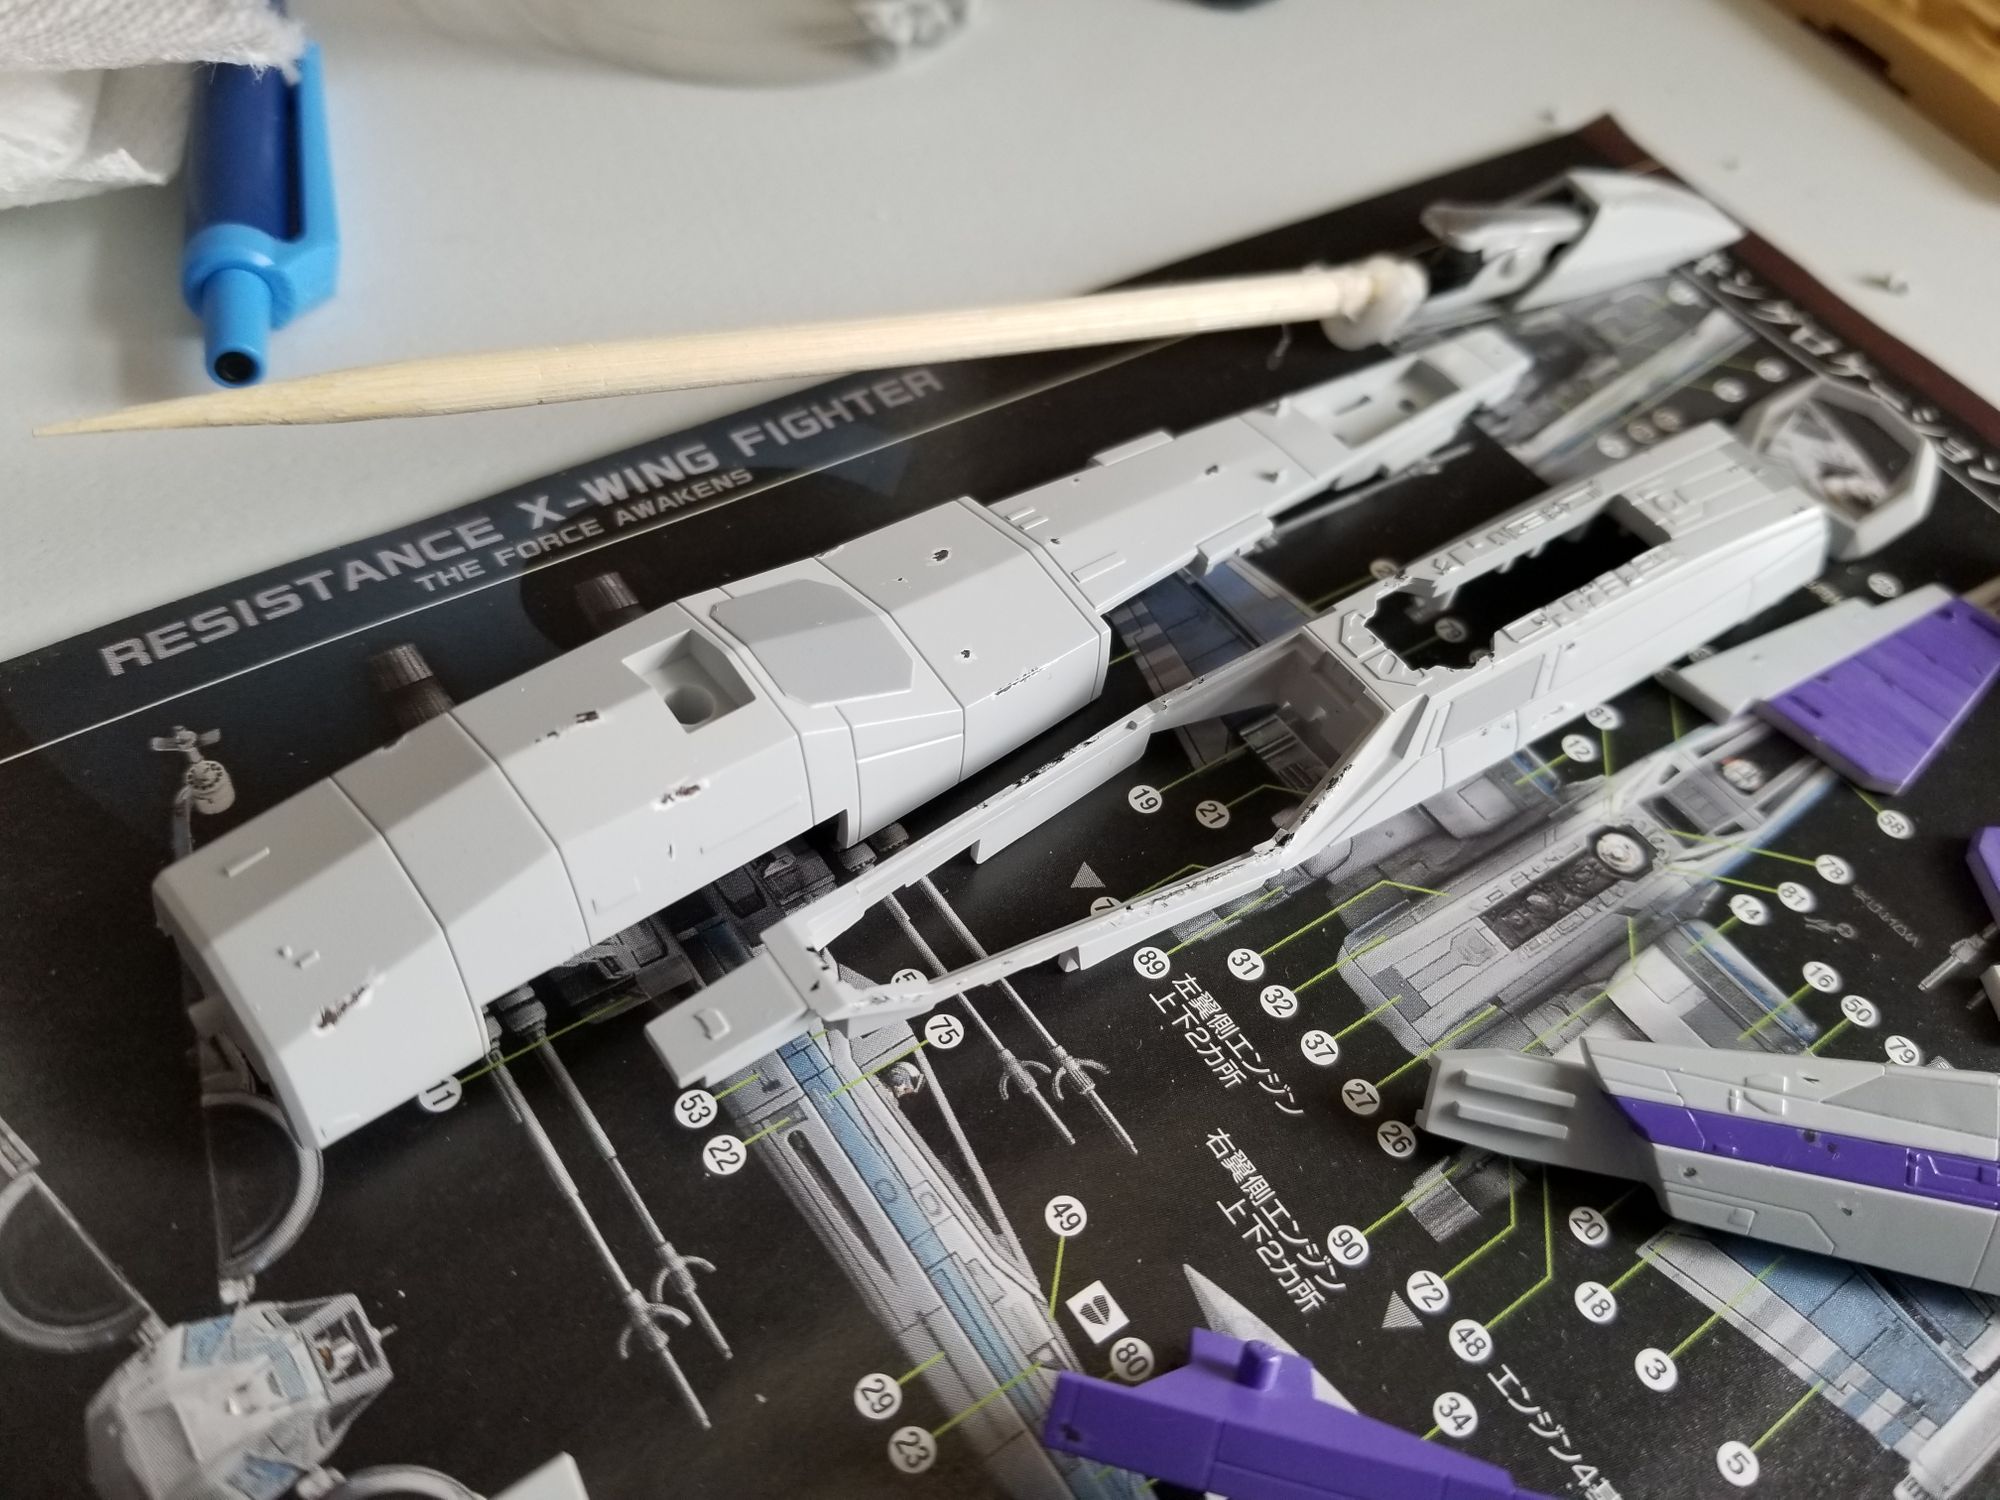
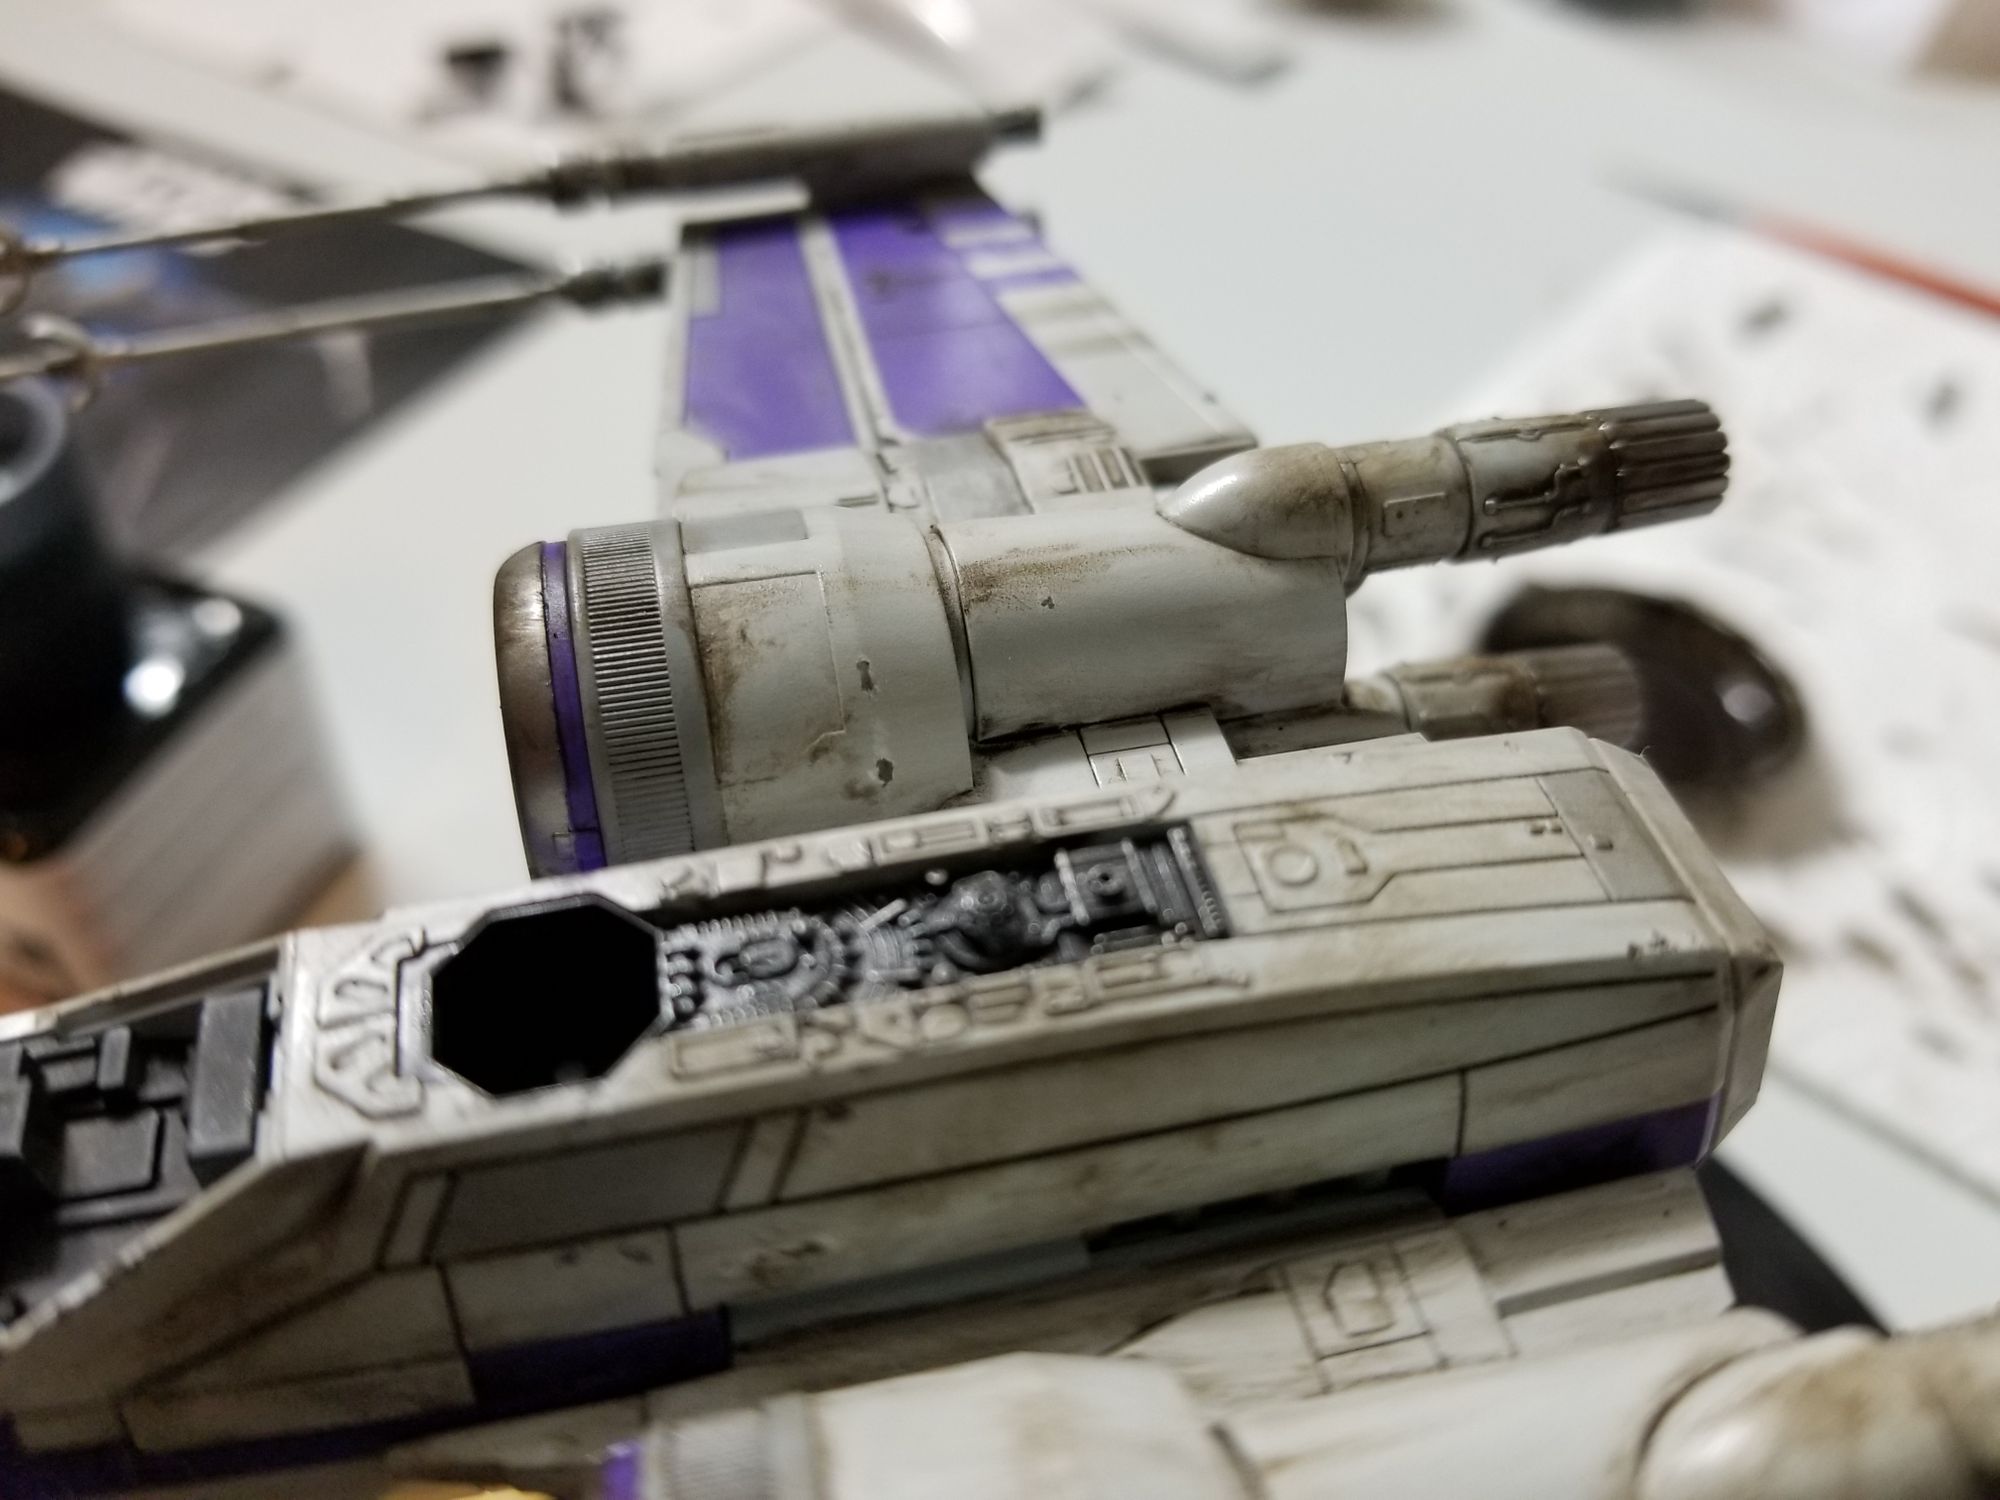
The engine scoopy things and exhaust ports (I have no idea what these are actually called) were first sprayed with Alclad Gloss Black then Mr. Super Metallic 2 Super Iron 2. They have got to think of some better names!
Despite the crazy long paint name, the results were stunning! These look like actual metal! This paint is also super durable and was incredibly easy to airbrush. Since I'm so new to airbrushing, I didn't really have a strong preference for paint brands and types. I chose Tamiya to start because they had a wide selection of colors and I had a good experience with their spray cans. However, the Mr. Color Super Metallic 2 colors were incredibly impressive and I went out to pick up several more over the course of this project.
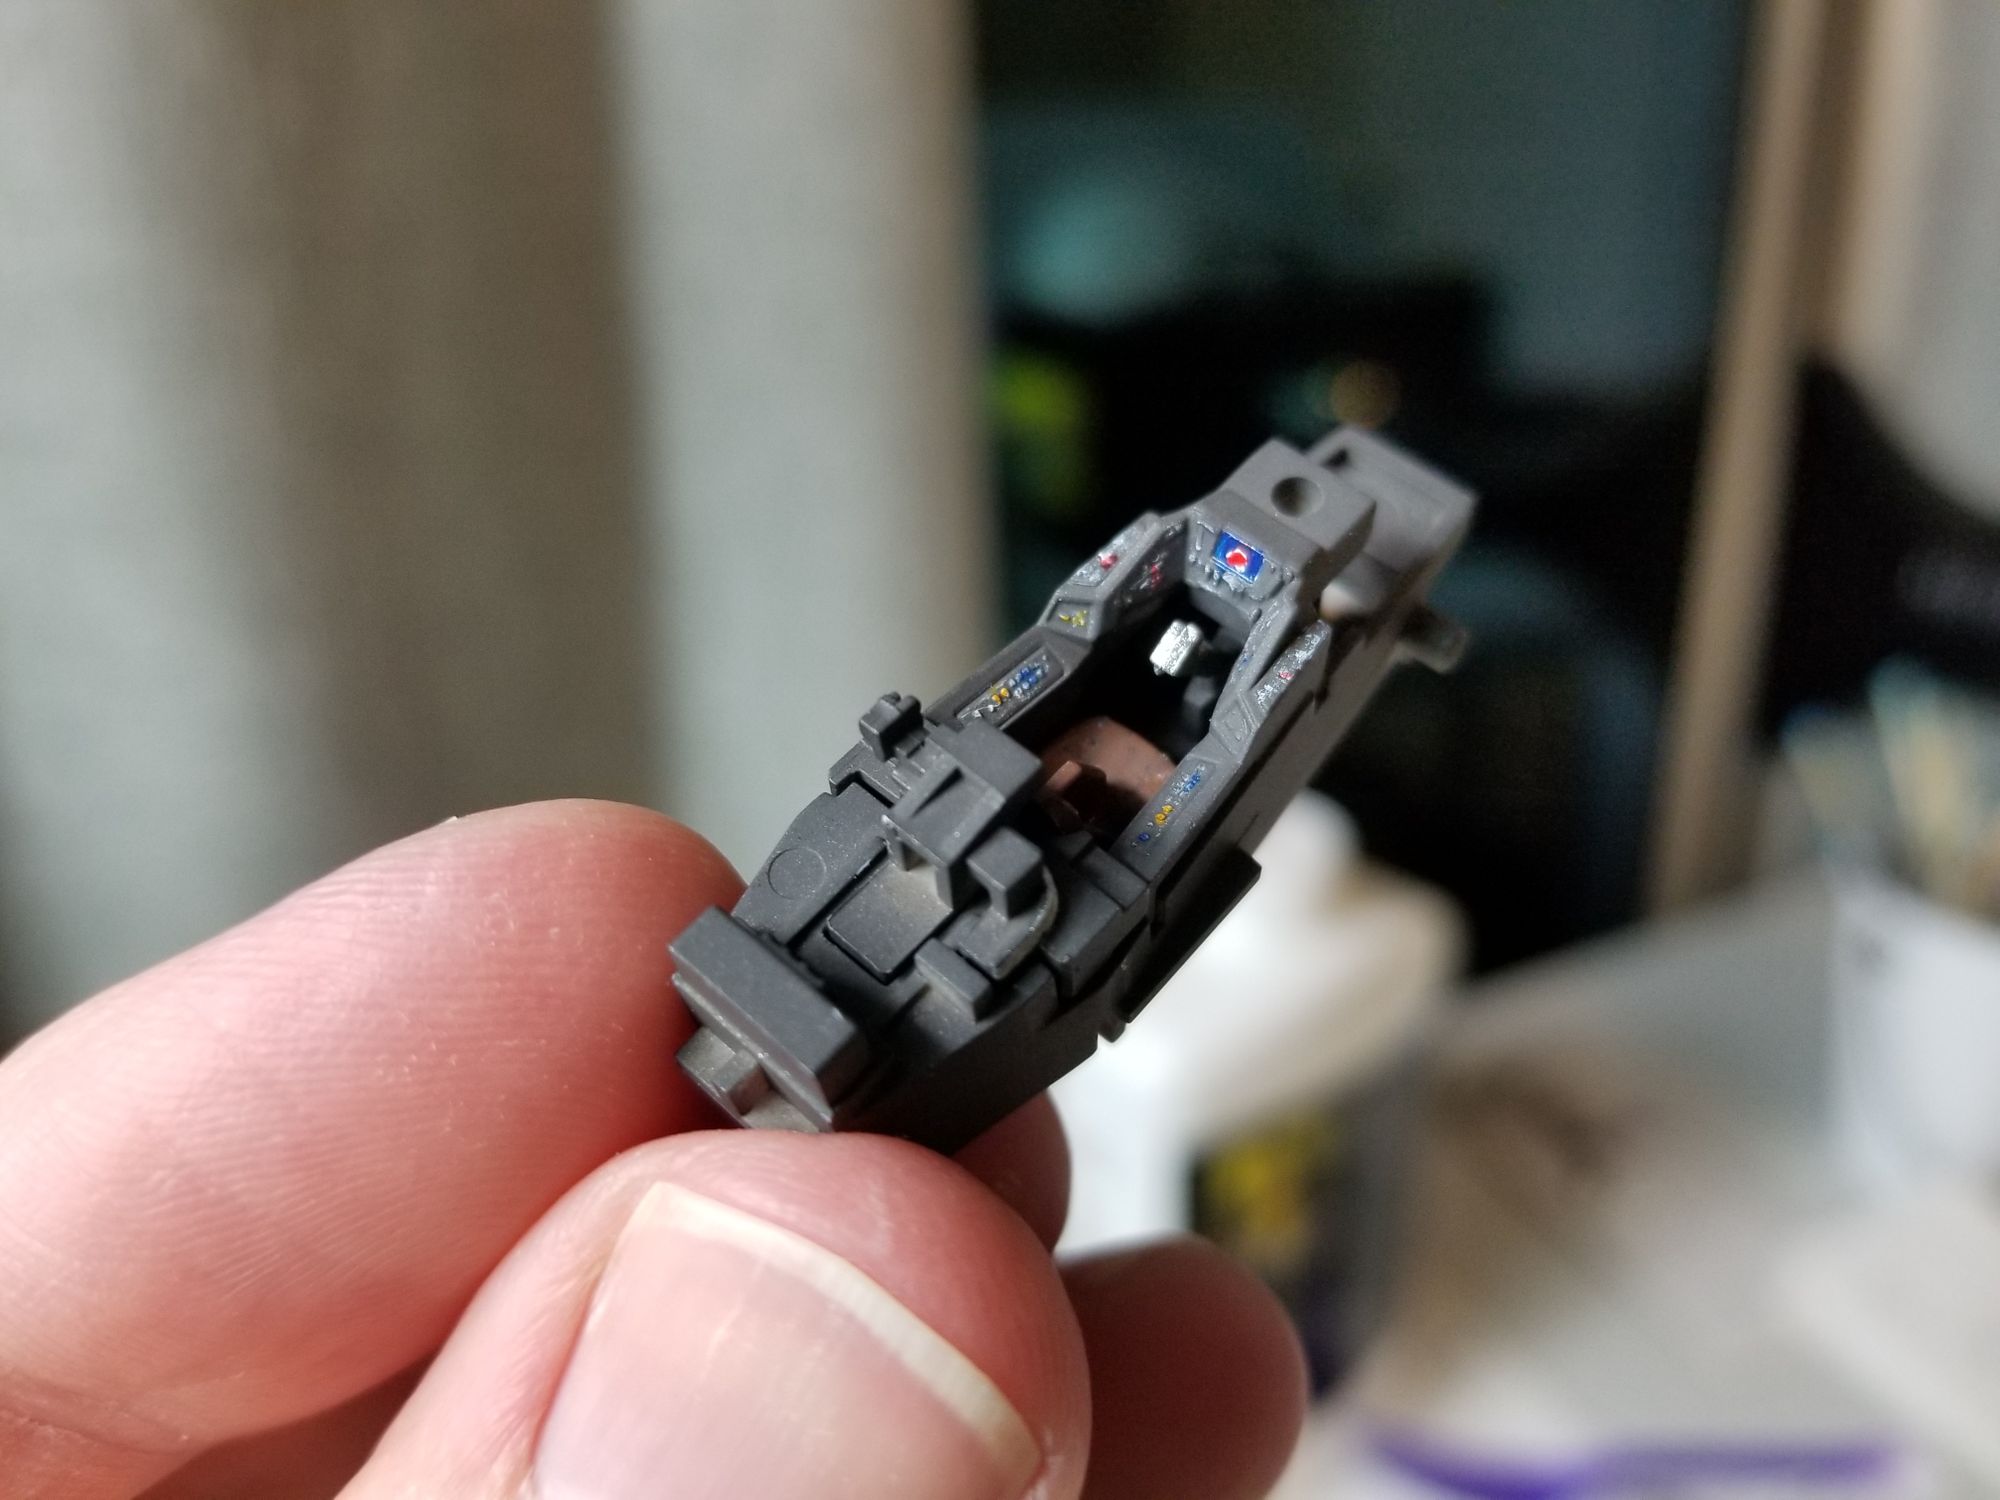
Anyway, the cockpit and some greebley bits were painted with Tamiya XF-84 Dark Iron then dry brushed with Tamiya XF-16 Flat Aluminum. They ended up looking pretty incredible for such a small amount of work. The canopy was sprayed with Tamiya XF-16 Flat Aluminum.
For some tonal variation, I picked out a few of the panels and painted them with Tamiya XF-19 Sky Grey.
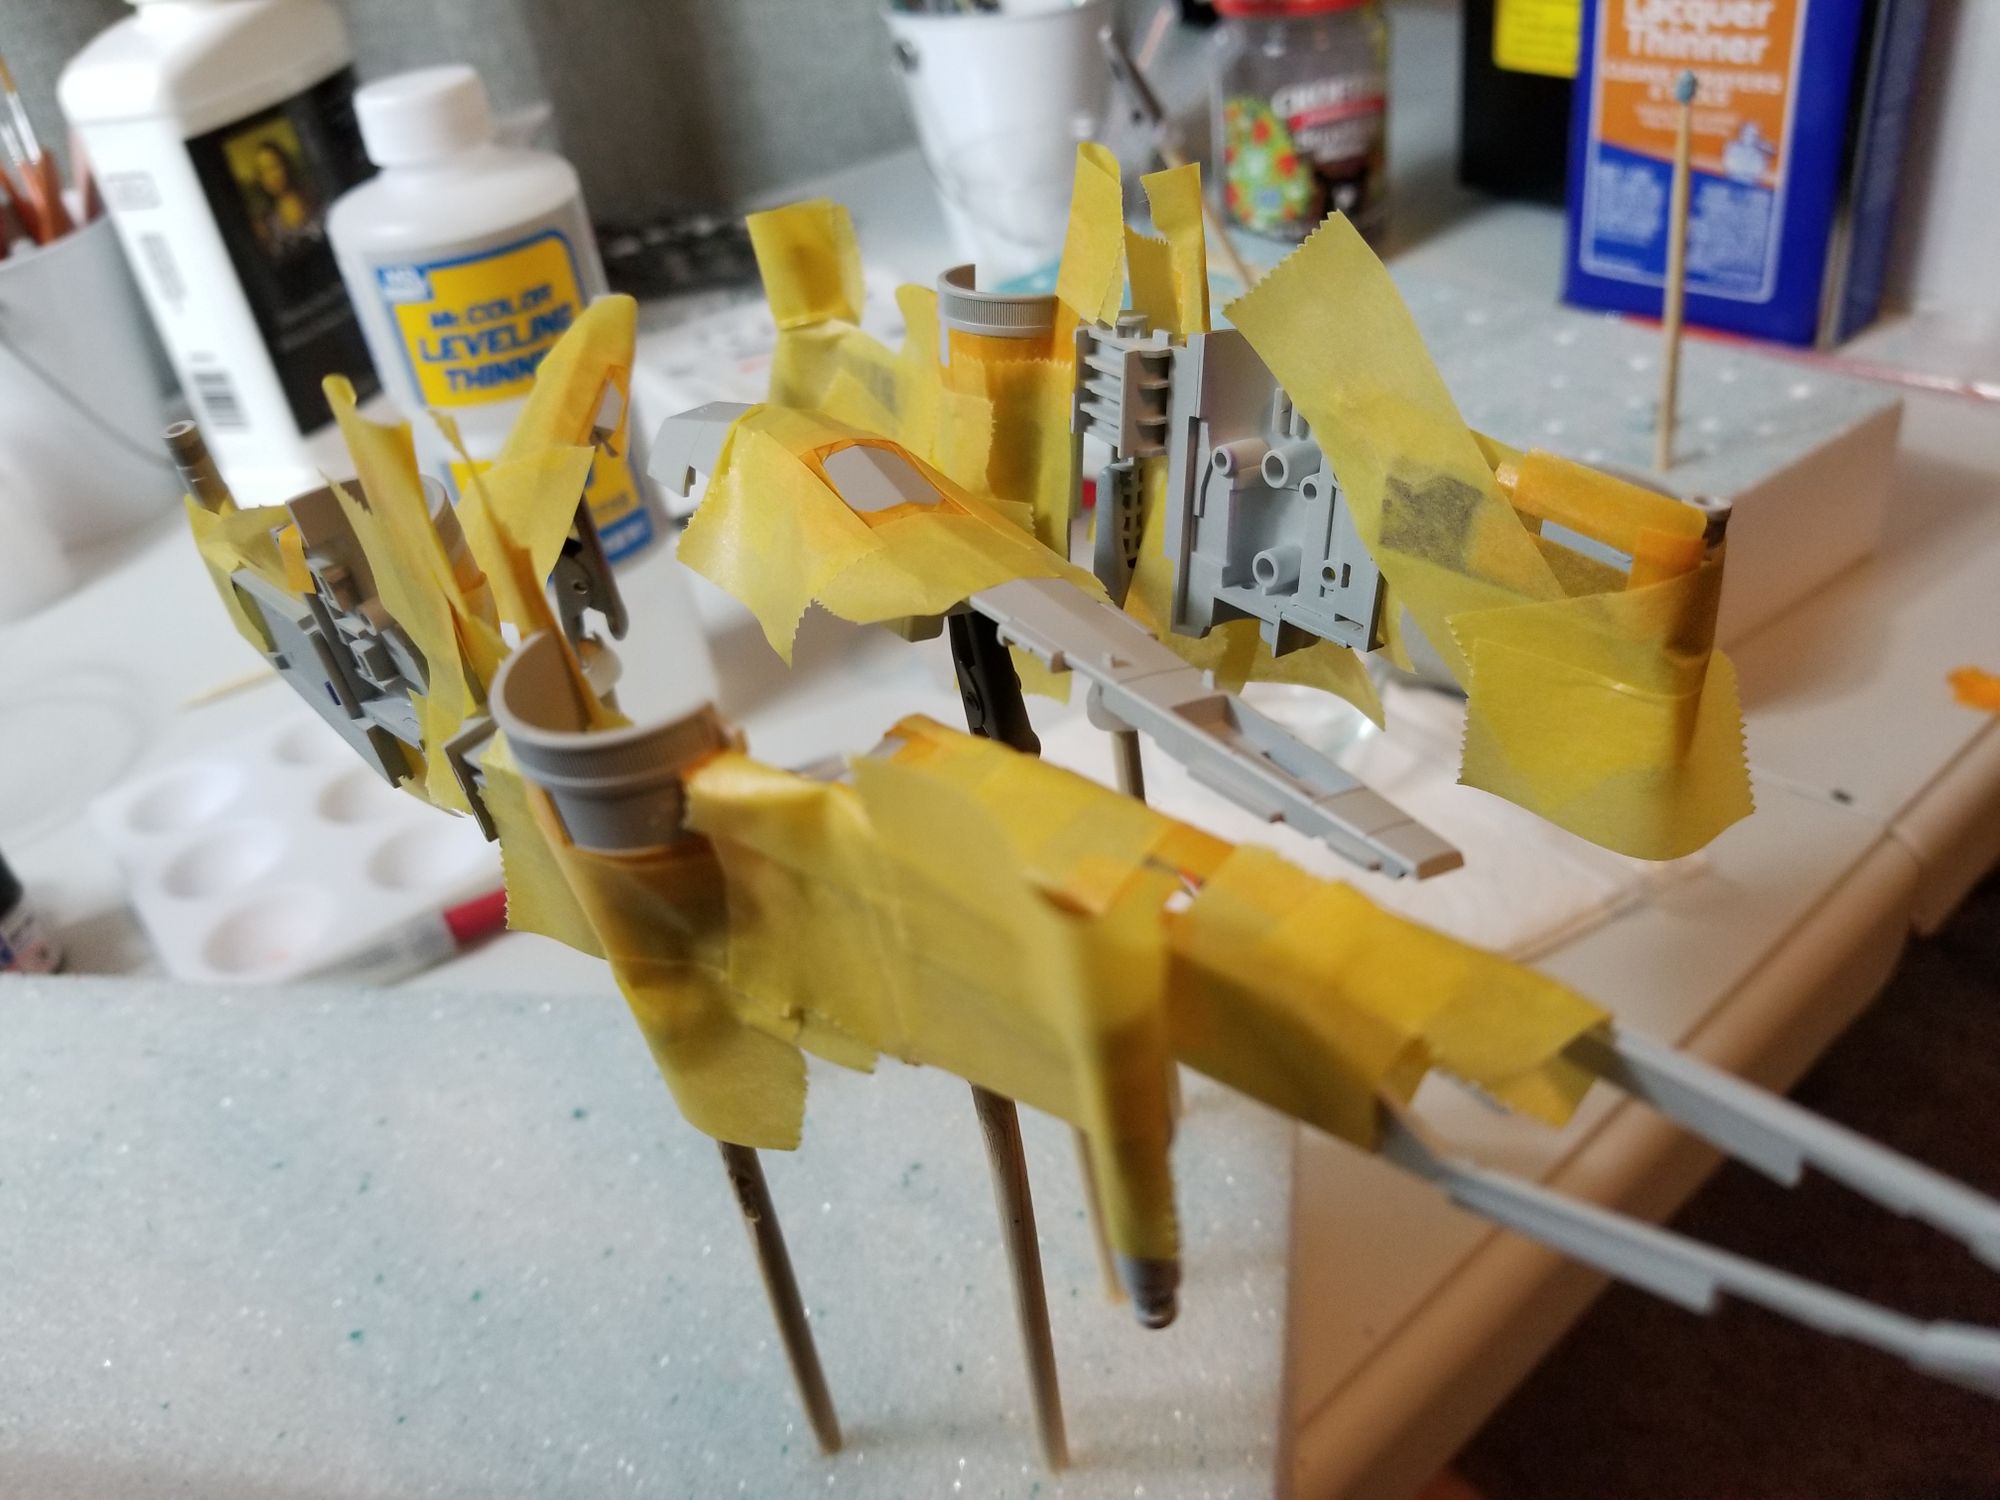
It took a lot of masking tape...
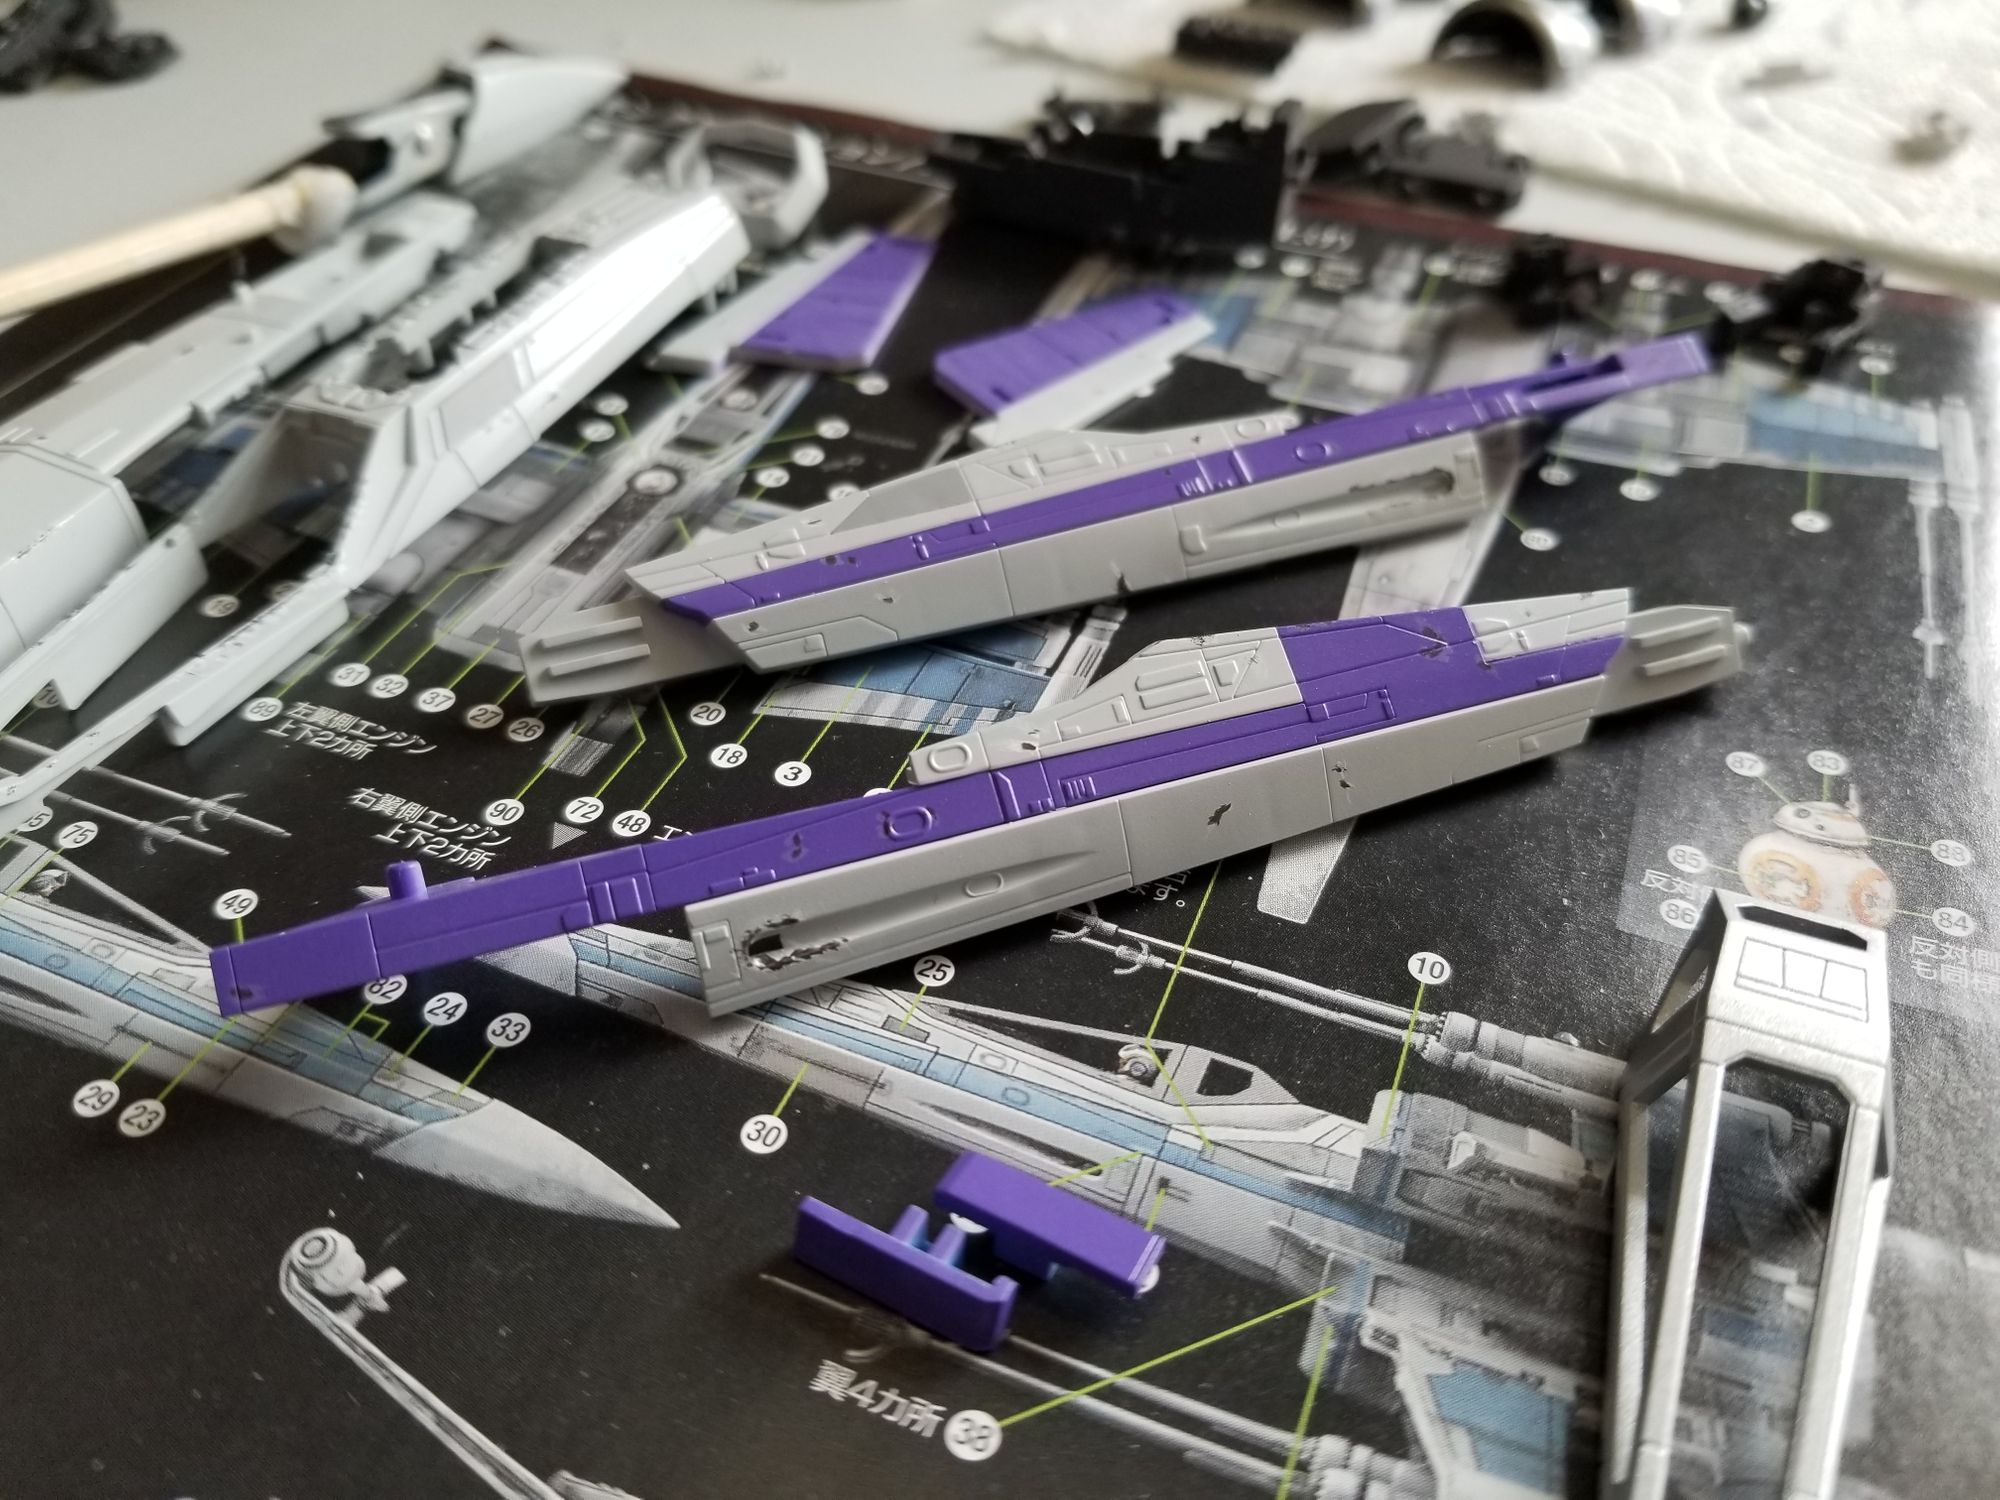
Finally, I wanted to add the wing markings. I used the included decals as a guide and cut some masking tape templates. I then remade my purple mix and hand painted the purple lines. I used a random grey oil paint for the gray lines because I wanted it to look faded and sloppily painted on.
And with that, the base coat was complete! I could have assembled it then and there and had a pretty nice looking model.
Weathering
This is a Star Wars ship, though. It is required to be filthy! I have never weathered a kit before... Heck, I had never even painted a kit this size before. So this entire thing was a learning experience. I watched a ton of YouTube videos and read a ton of tutorials.
I started with chipping. I opted for the hand painted technique instead of using a sponge. Mainly because I just didn't have a sponge that wanted to work for me. They were all on strike. I practiced on a few spoons then went to work on the real thing.
For the grey areas, I first chipped with white to hopefully make it look like some of the paint had rubbed off and the primer was showing. I then went back over these white parts with the Tamiya XF-84 Dark Iron, staying just inside the white areas. This helped give it a 3D effect.
Do X-wings even use primer? Are they just bare durasteel? I began to question my sanity as I debated how fictional spaceships were painted.
Anyway, I did a similar technique on some of the purple pieces. I mixed a lighter shade of the purple for the "primer" then chipped inside that with the same Dark Iron. The results were... decent in some places, just alright in others. I like how it turned out on the wings and I definitely improved a bunch as I went, but I'm glad the later weathering steps helped cover this up a bit.

I definitely need more practice with the hand painted chipping technique. On the next kit I weather, I'll be using a sponge. Hopefully they'll be done striking at that point.
I finished snap building the kit, but kept some pieces loose in the event that I'd have to reach some nooks and crannies. I had a nearly factory fresh X-wing! I was very nervous for this next part... It would make or break the entire build and it too, would be a learning exercise.
But first, I sprayed the entire thing with some Alclad Aqua Gloss to lock in my existing paint detail and provide a smooth finish for the weathering effects.
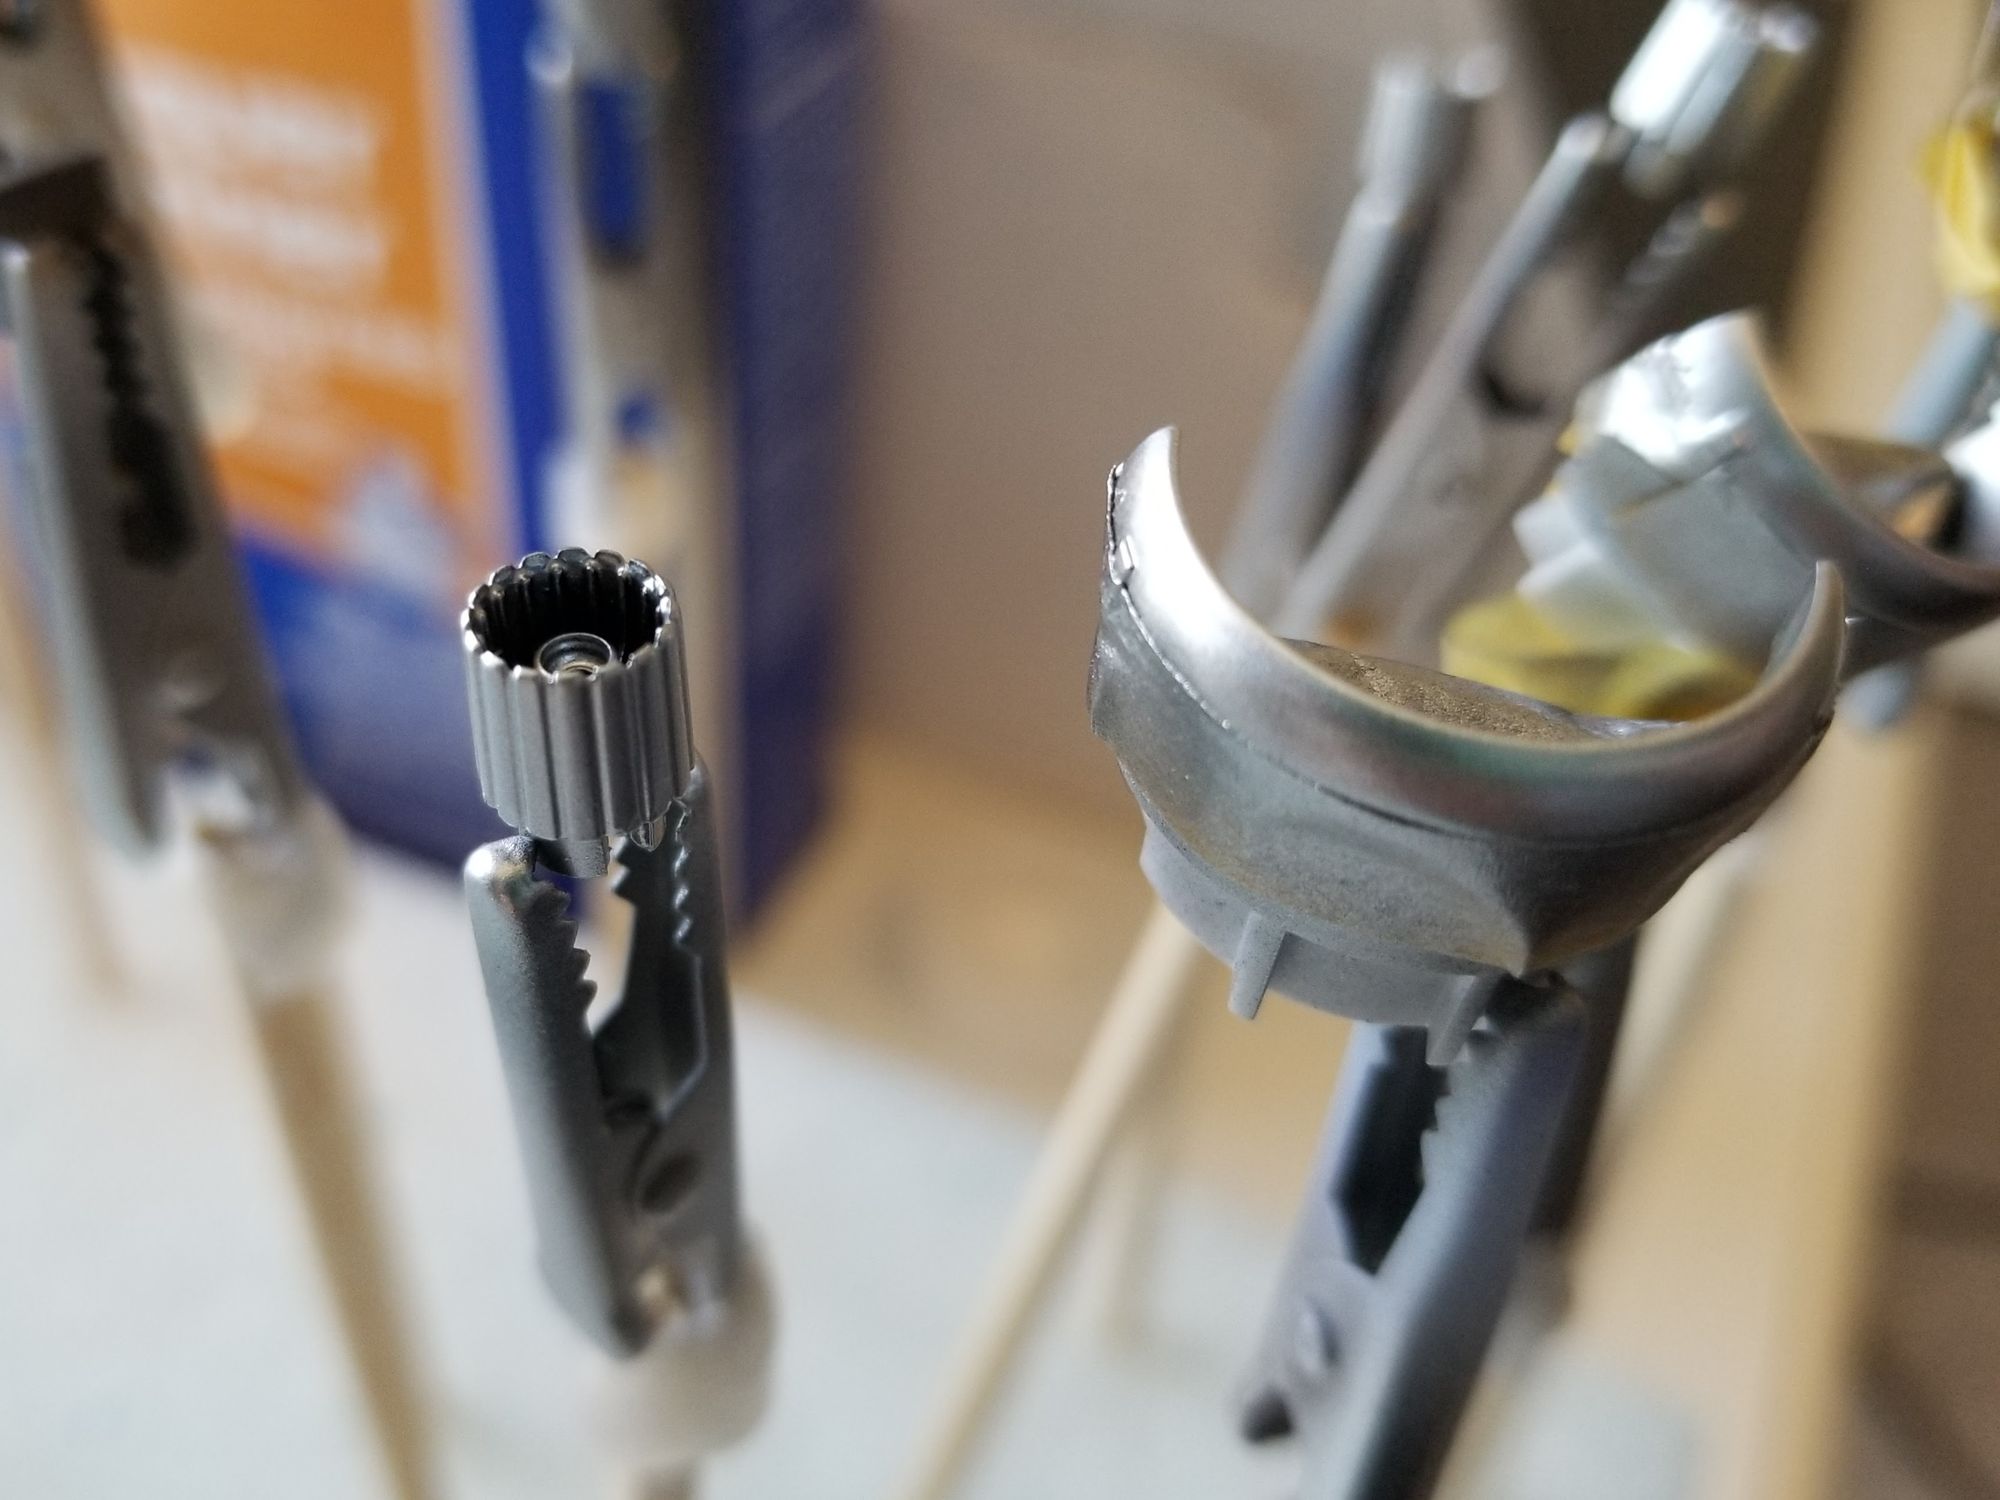
I purchased a cheap set of oil paints off Amazon for about $10. I then mixed some ivory black with some burnt umber for a mostly black, but slightly brownish color then added a bunch of enamel thinner until I had a gross runny mixture.
I had no idea what I was doing, so I just slathered it all over the model until it was nice and gross looking.
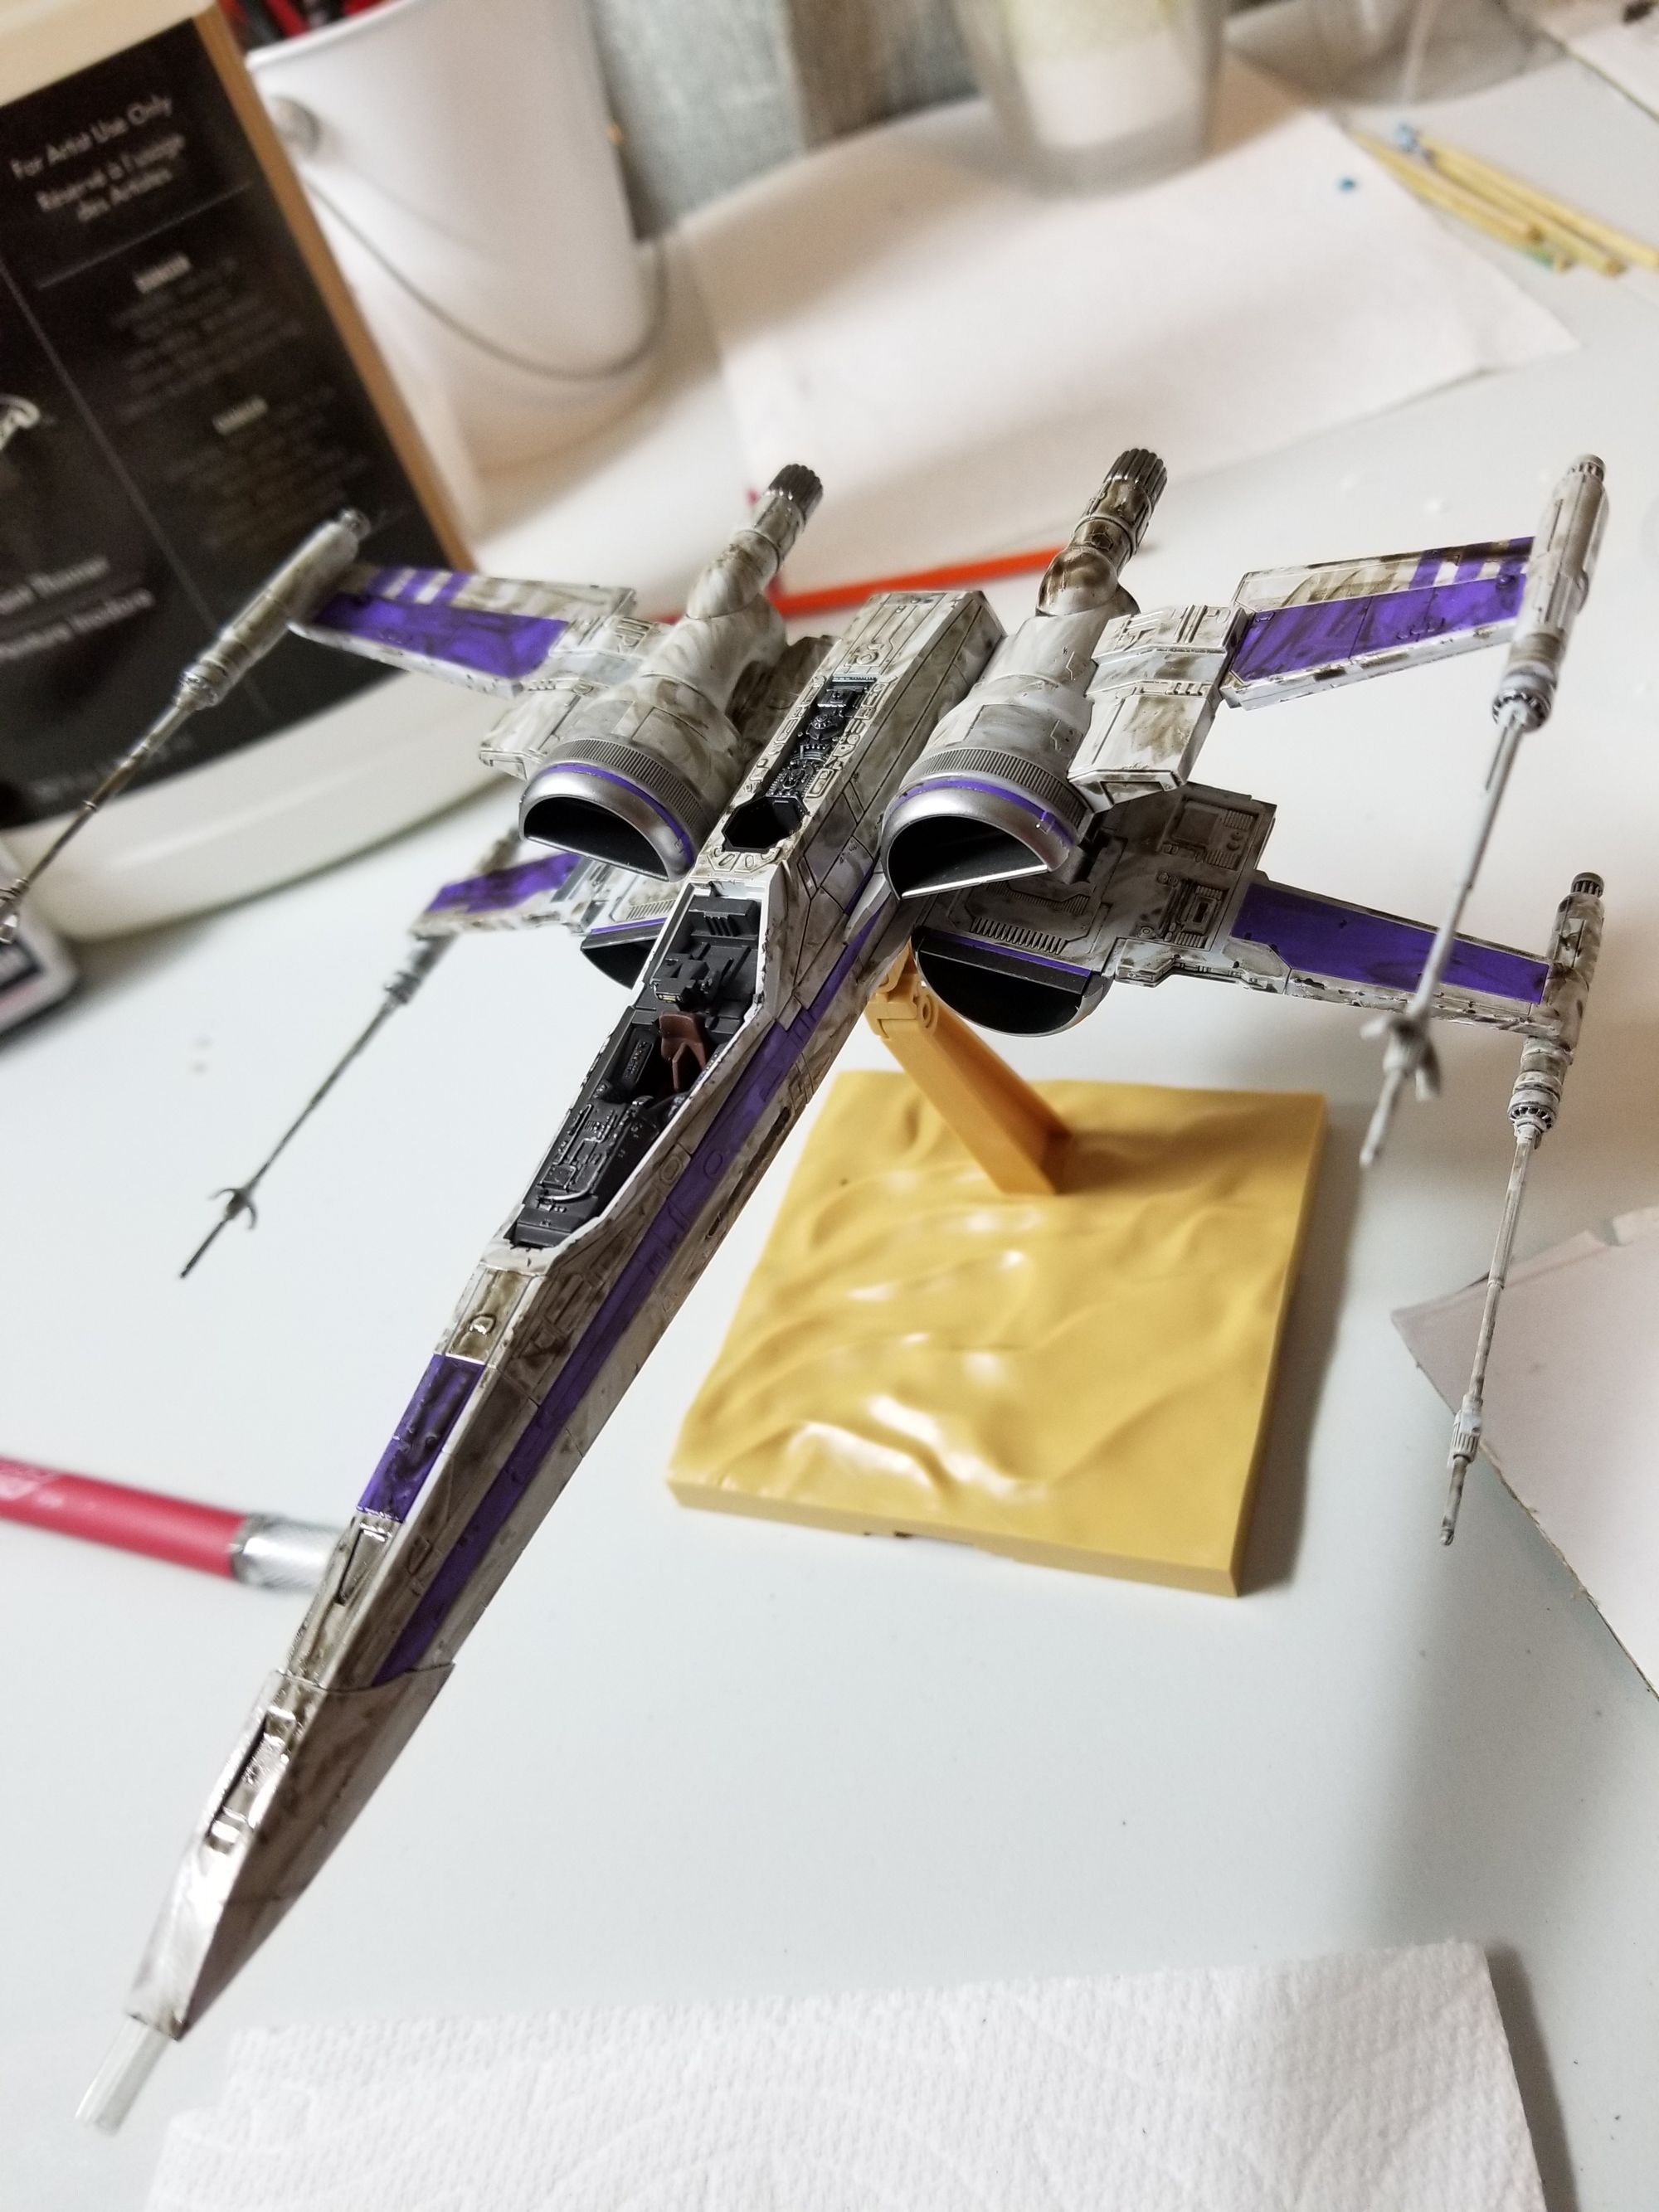
24 hours later, it was still fairly wet, but not so wet that it all just wiped off. So I took several thousand Q-tips with a bit of enamel thinner and went to town wiping off most of the oil. This left grimy looking paint mostly confined to the nooks and crannies of the model. I didn't clean up my mixing cup so it had partially dried overnight. I used that partially dry paint to add a bunch of streaking effects all over the model.
Again, I had no real method. I just sort of went to town with my paint brush, streaking bits of paint in places that seemed to make sense and using enamel thinner to erase parts I didn't like. It became sort of like dry brushing. I'd dip the brush into the oil, wipe of most of the paint, then streak on the model until I was happy with the effect.
Not bad for a first attempt, I think.
The Figures
At the time of writing this, I still haven't finished painting the pilots... I sort of lost steam but will get to it eventually. For their flight suits I mixed Tamiya X-6 Orange with a bit of Tamiya X-7 Red until I found a color I was happy with but will never be able to replicate.
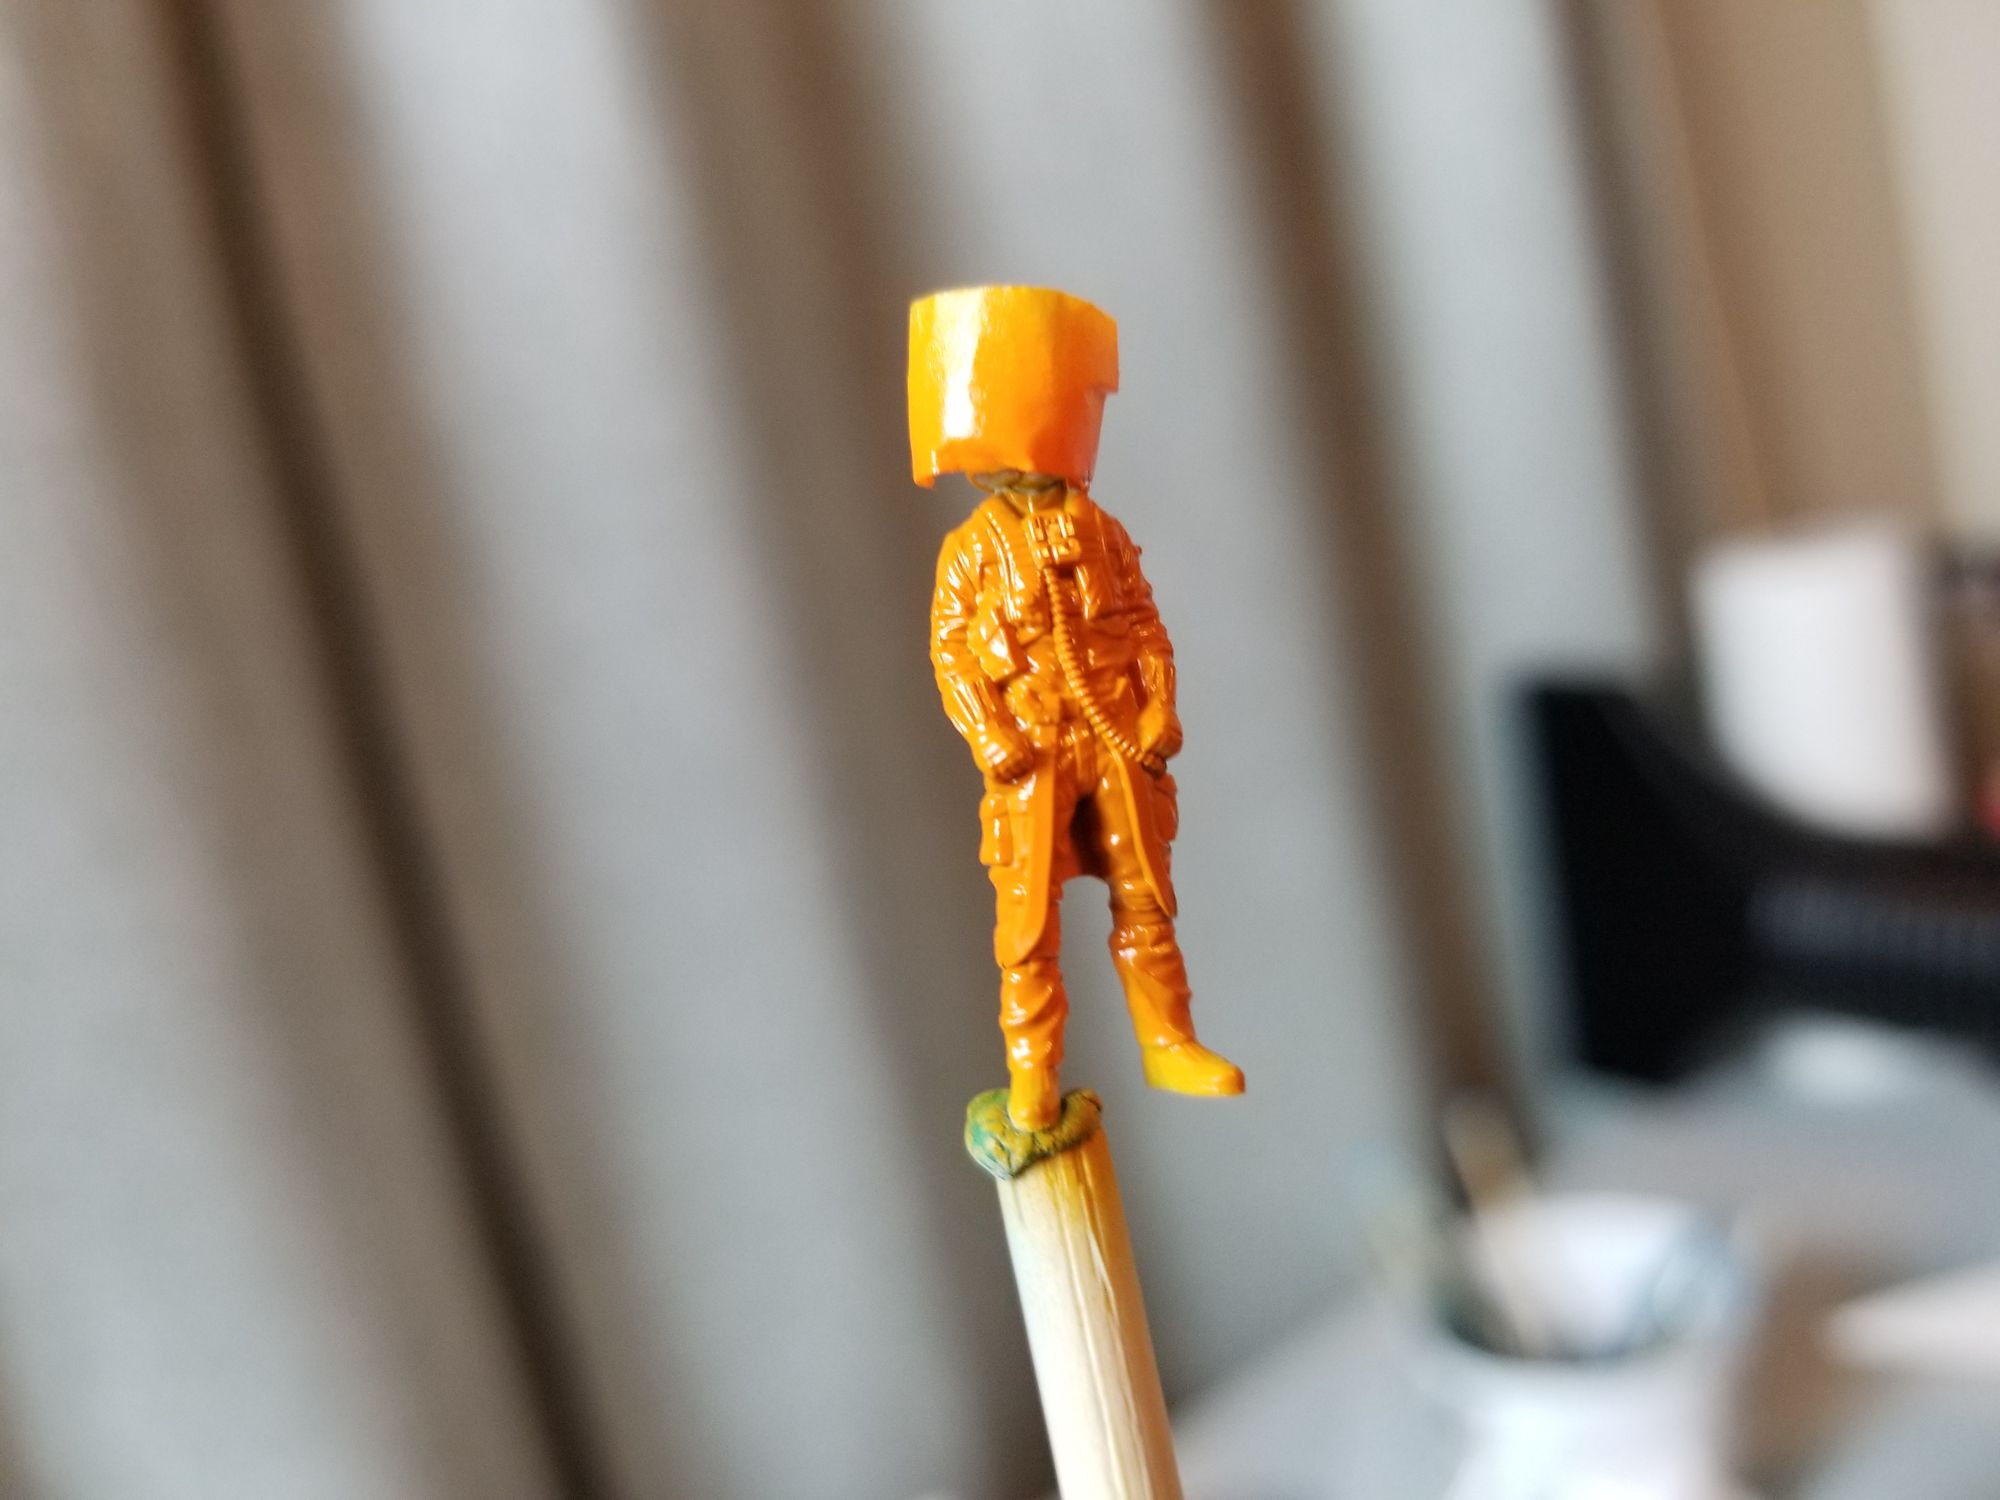
Once that dried, I hand painted the face with Tamiya XF-15 Flat Flesh, the visor with Tamiya X-8 Lemon Yellow, the helmet with Tamiya X-2 White, the boots with Tamiya X-9 Brown, and the gloves with Tamiya X-1 Black. I had a lot of issues with the orange paint reactivating as I painted on top of it. So midway through I switch to oils on the white, brown, and gray parts. These take ages to dry between coats.
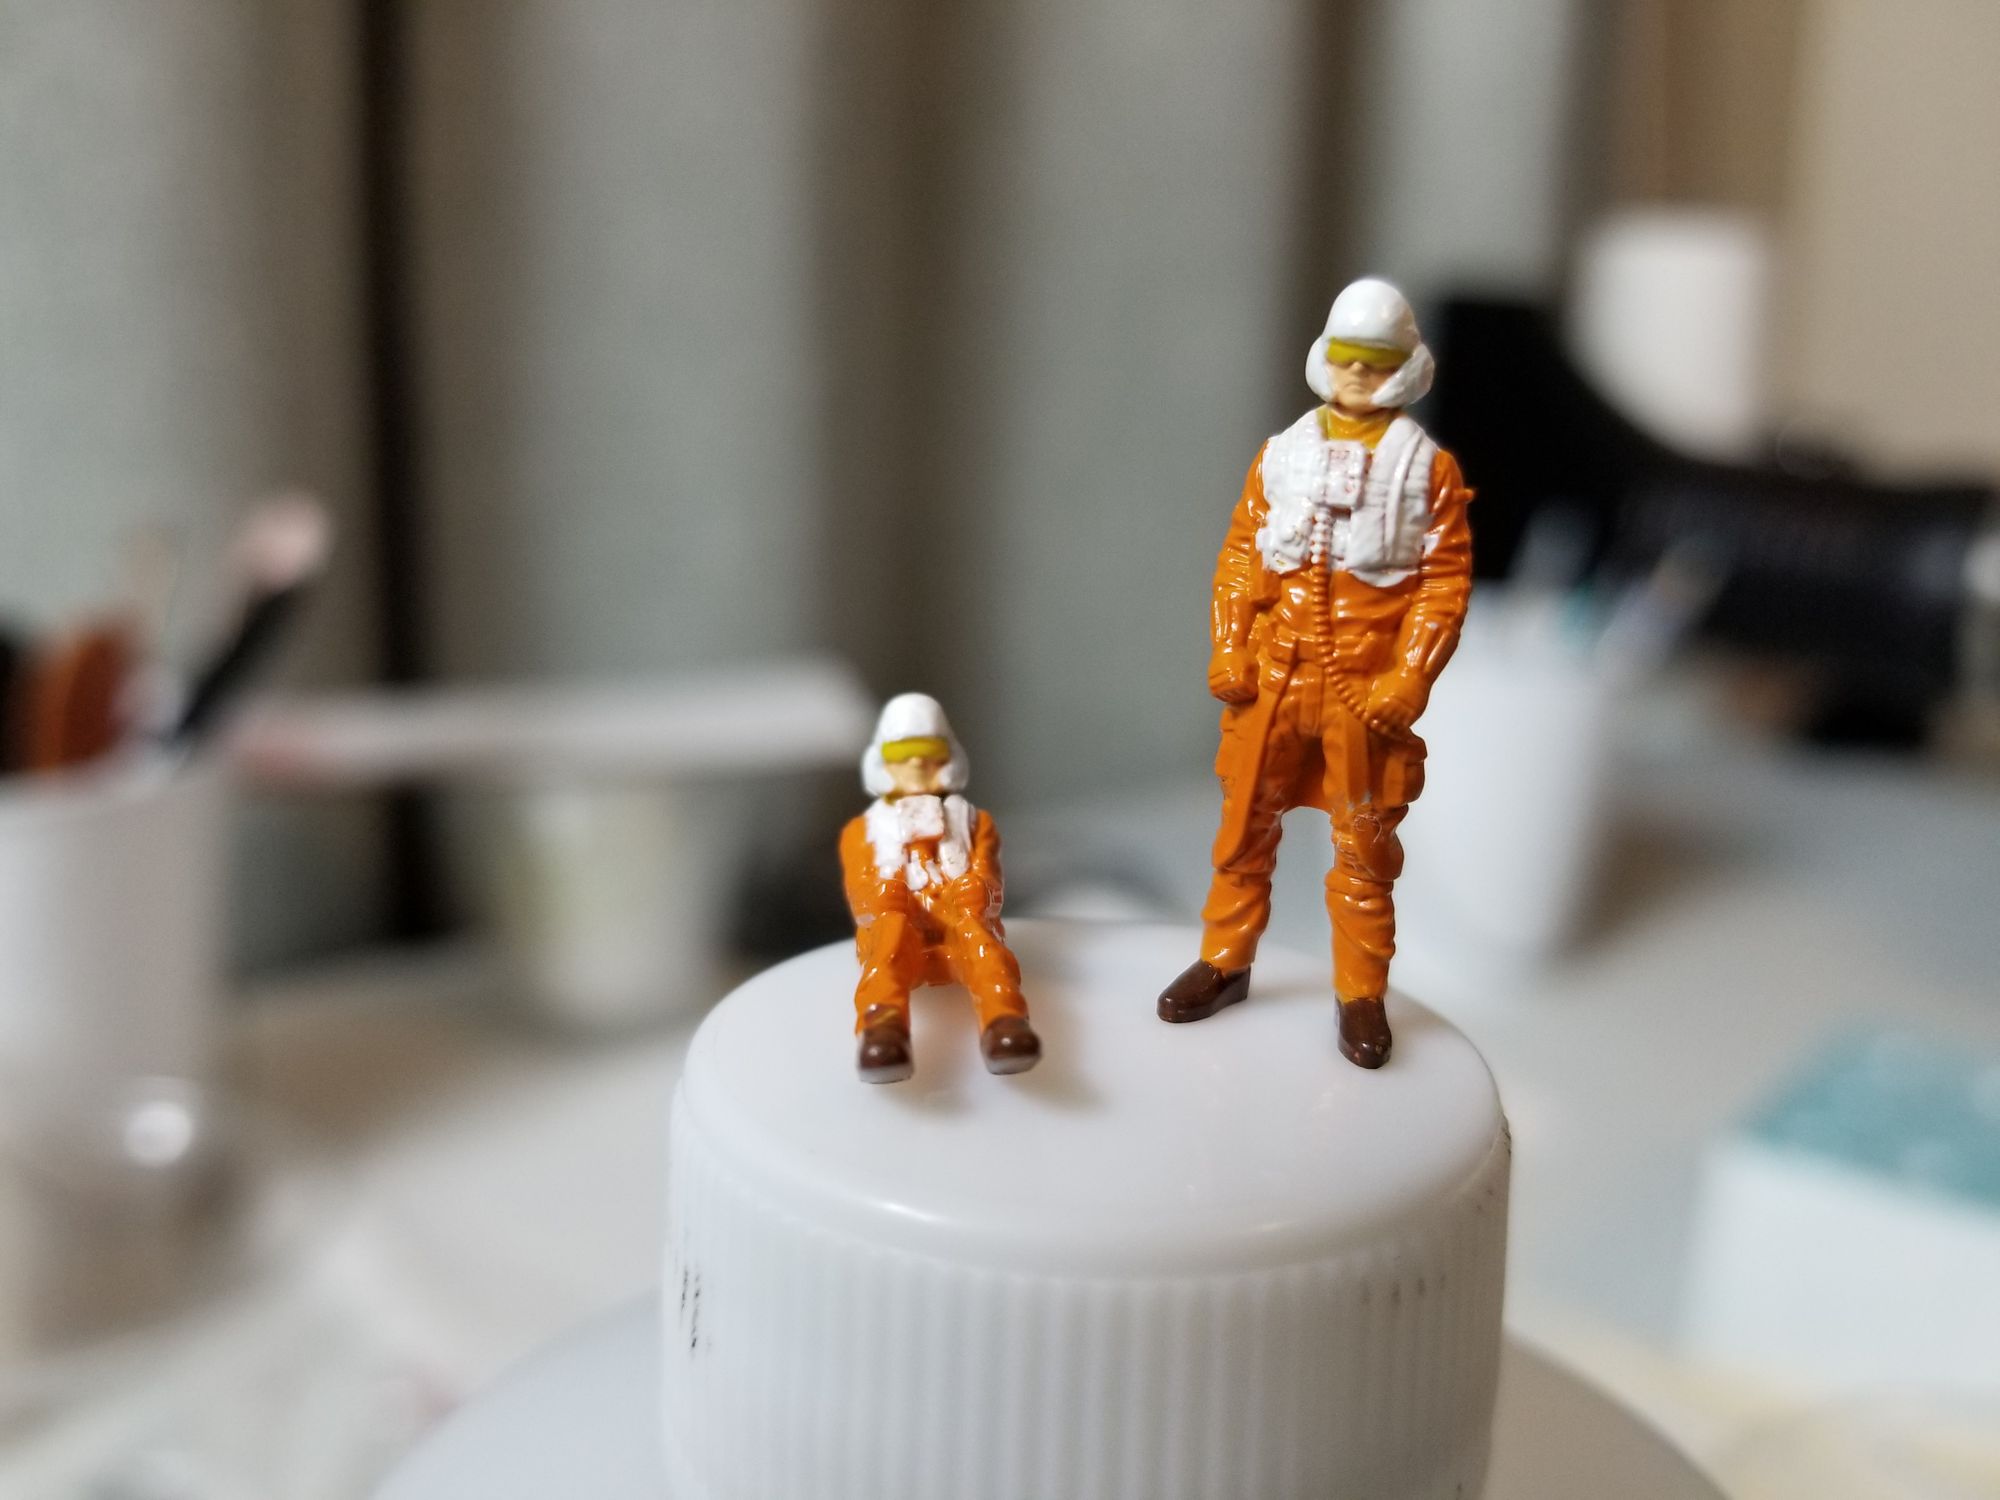
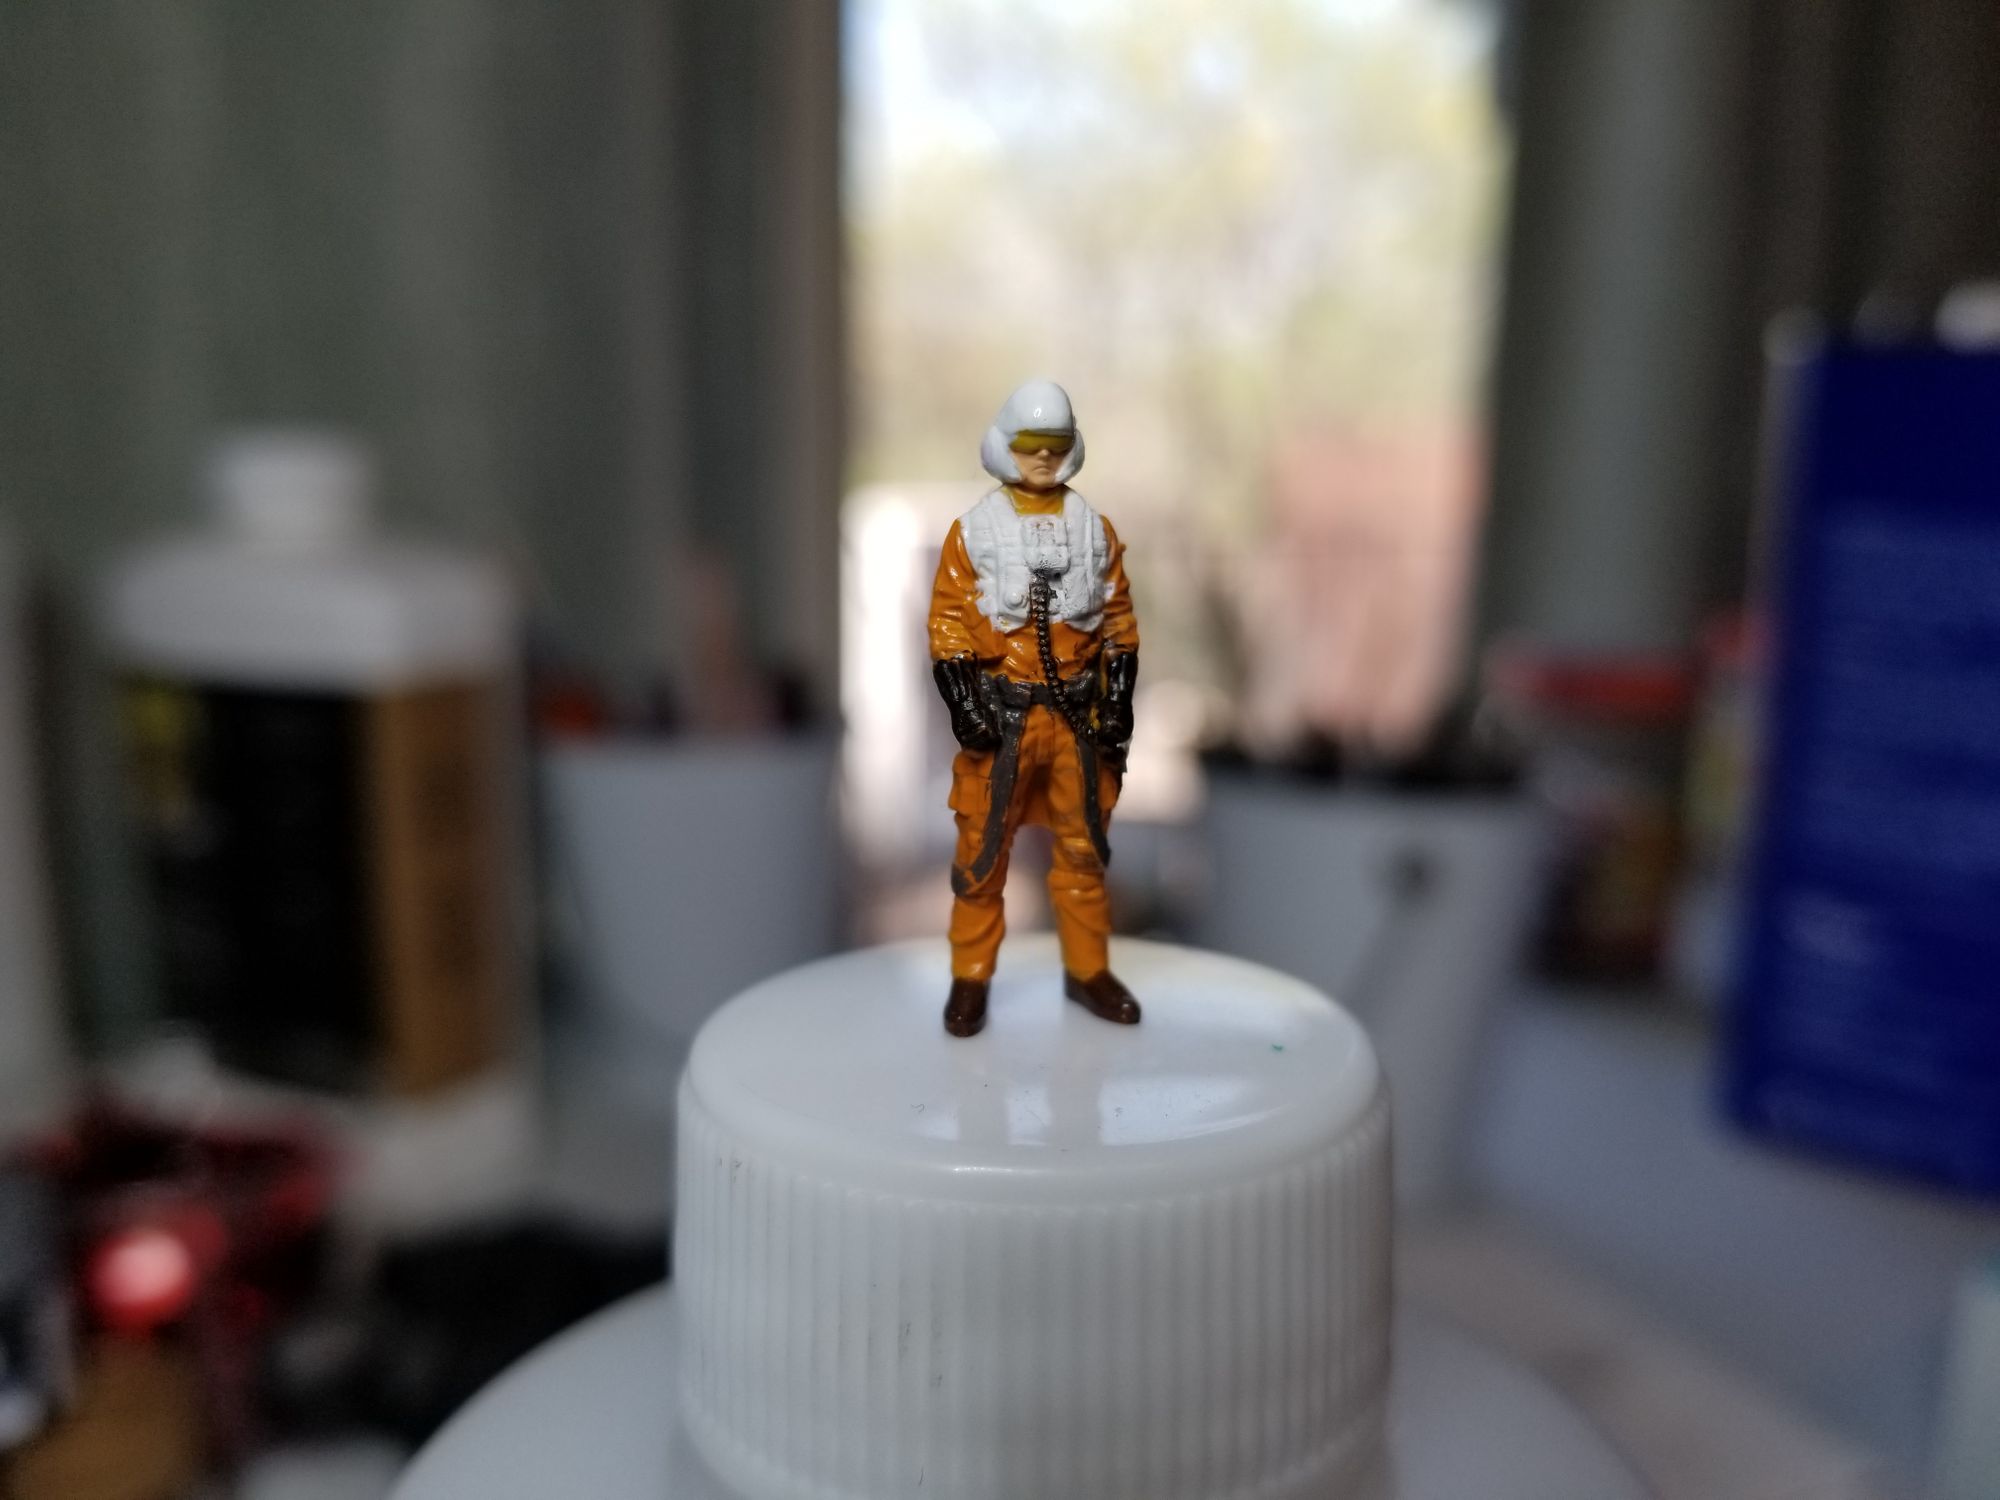
That's where the pilots stand today.
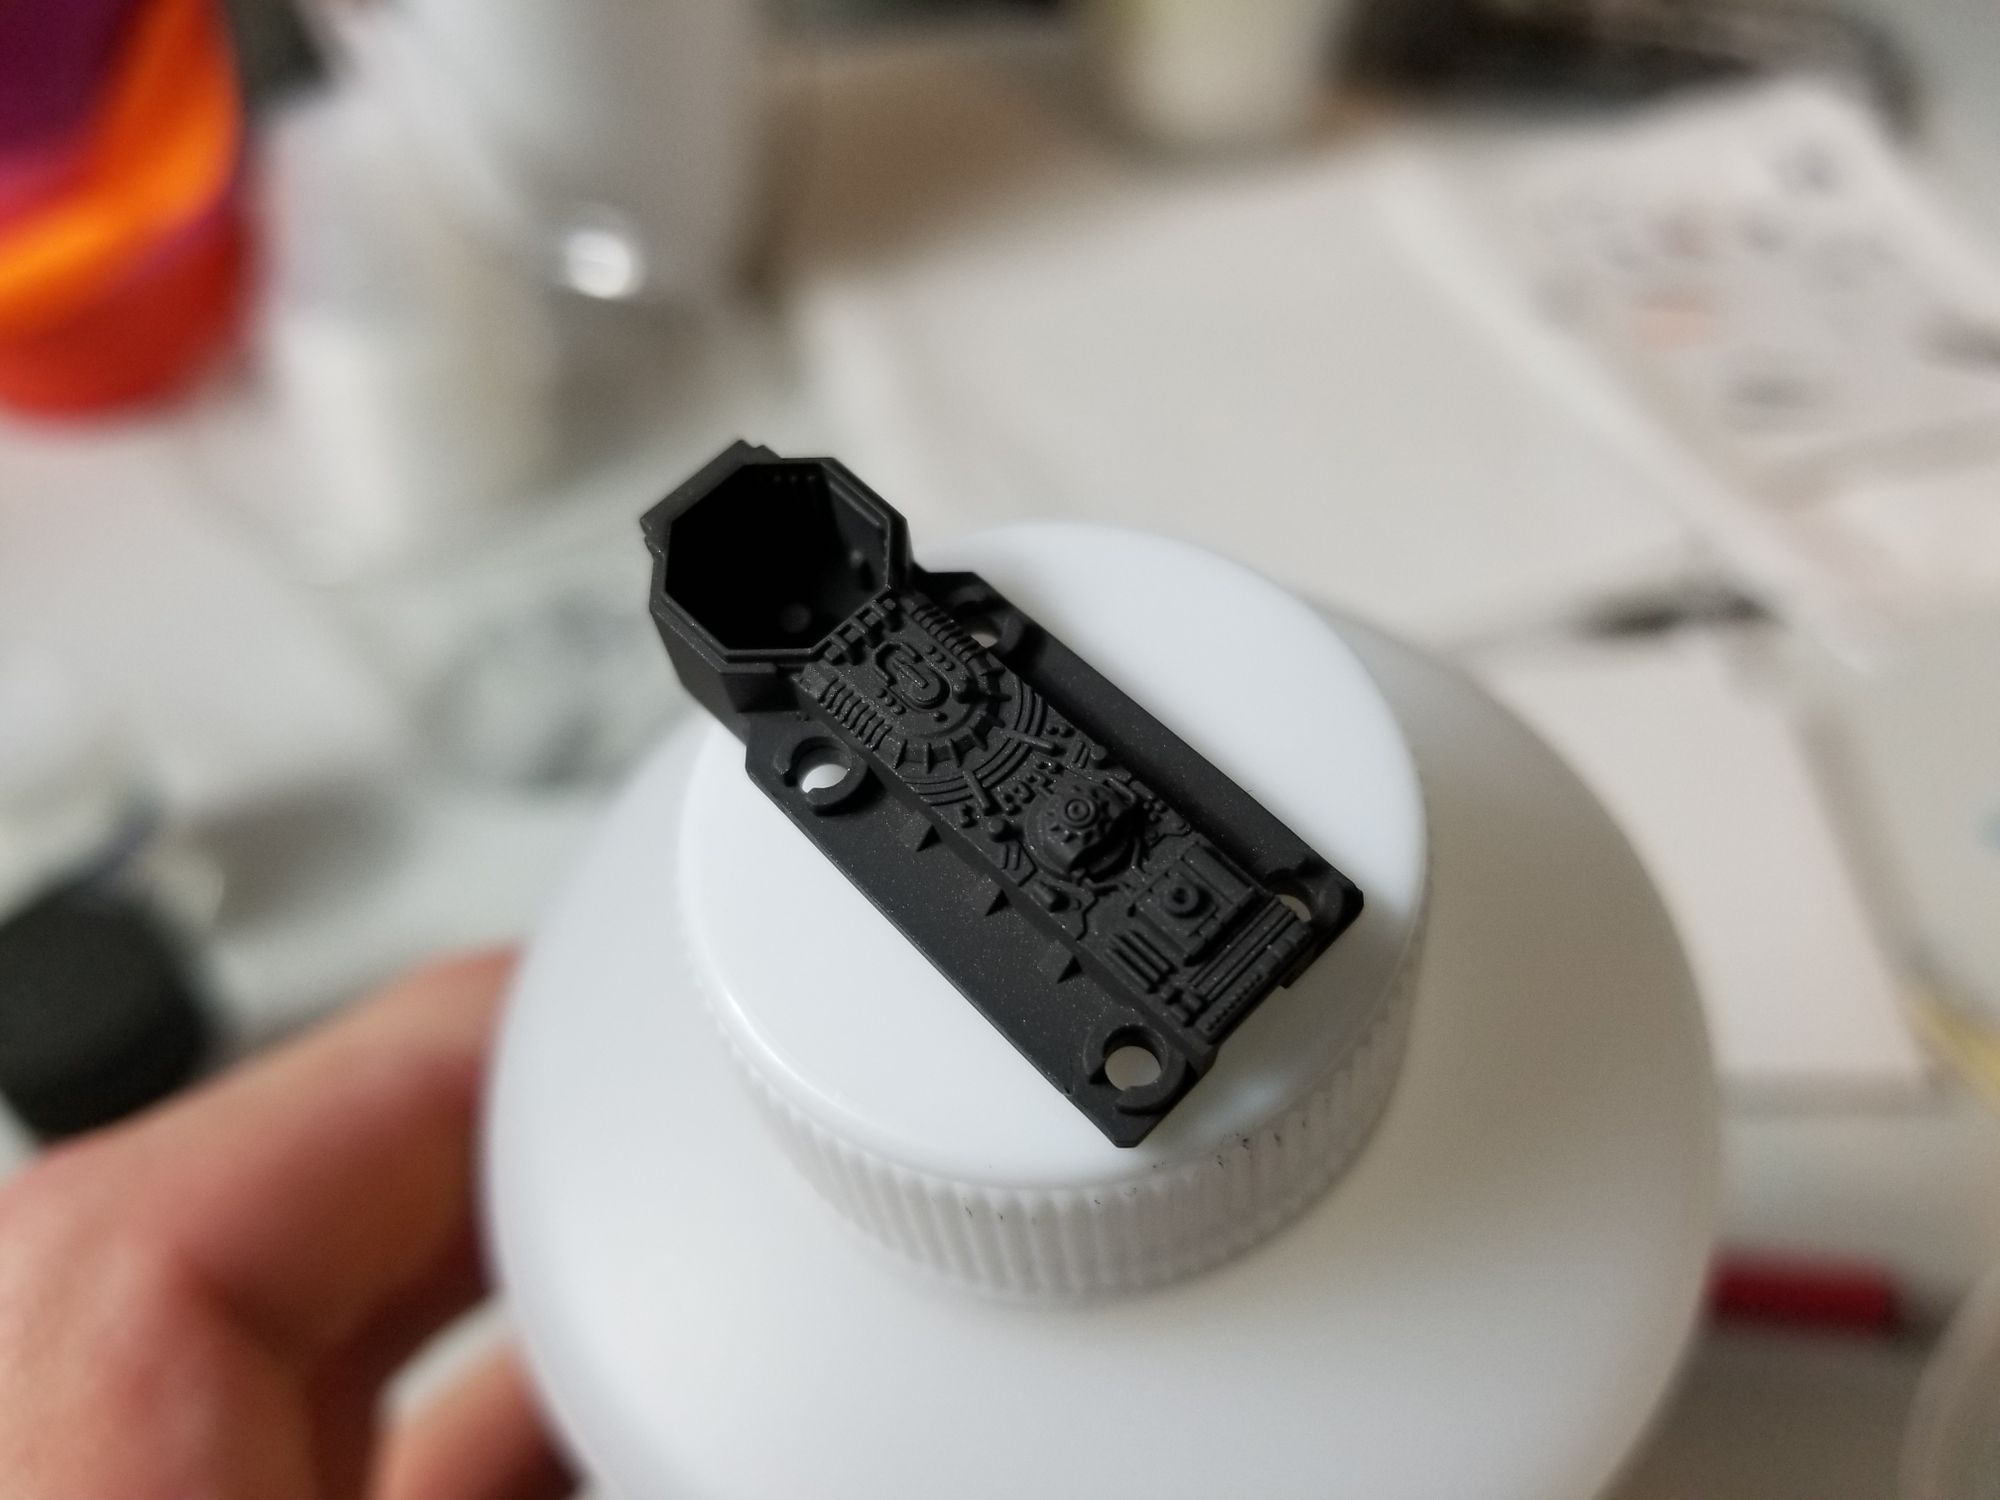
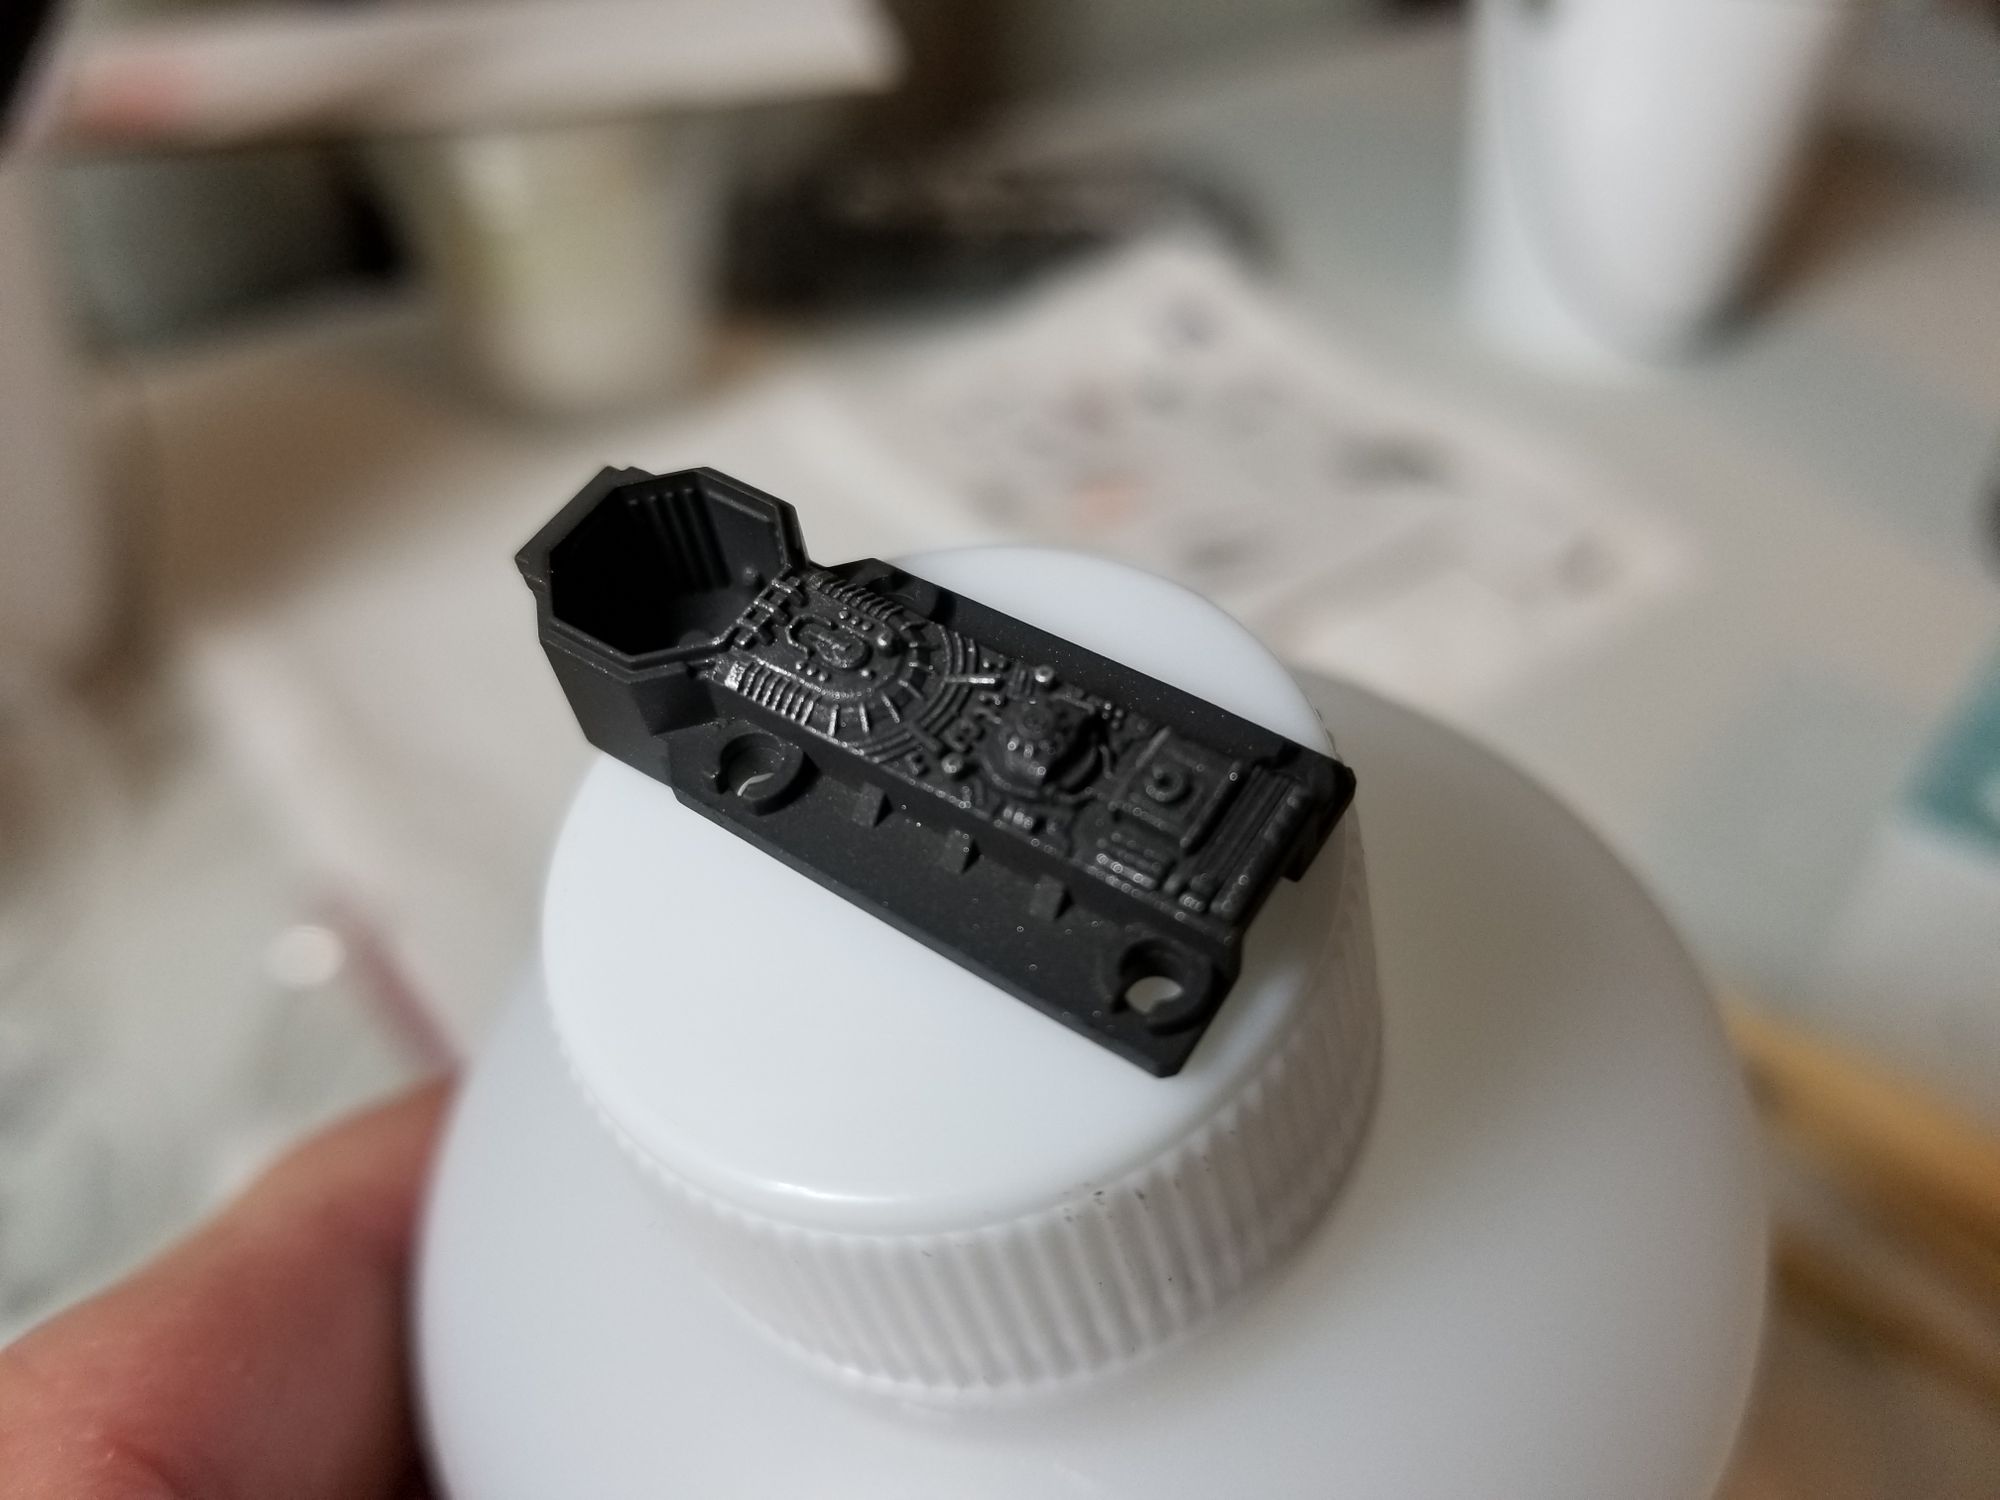
The BB unit had a big seam running down the middle.
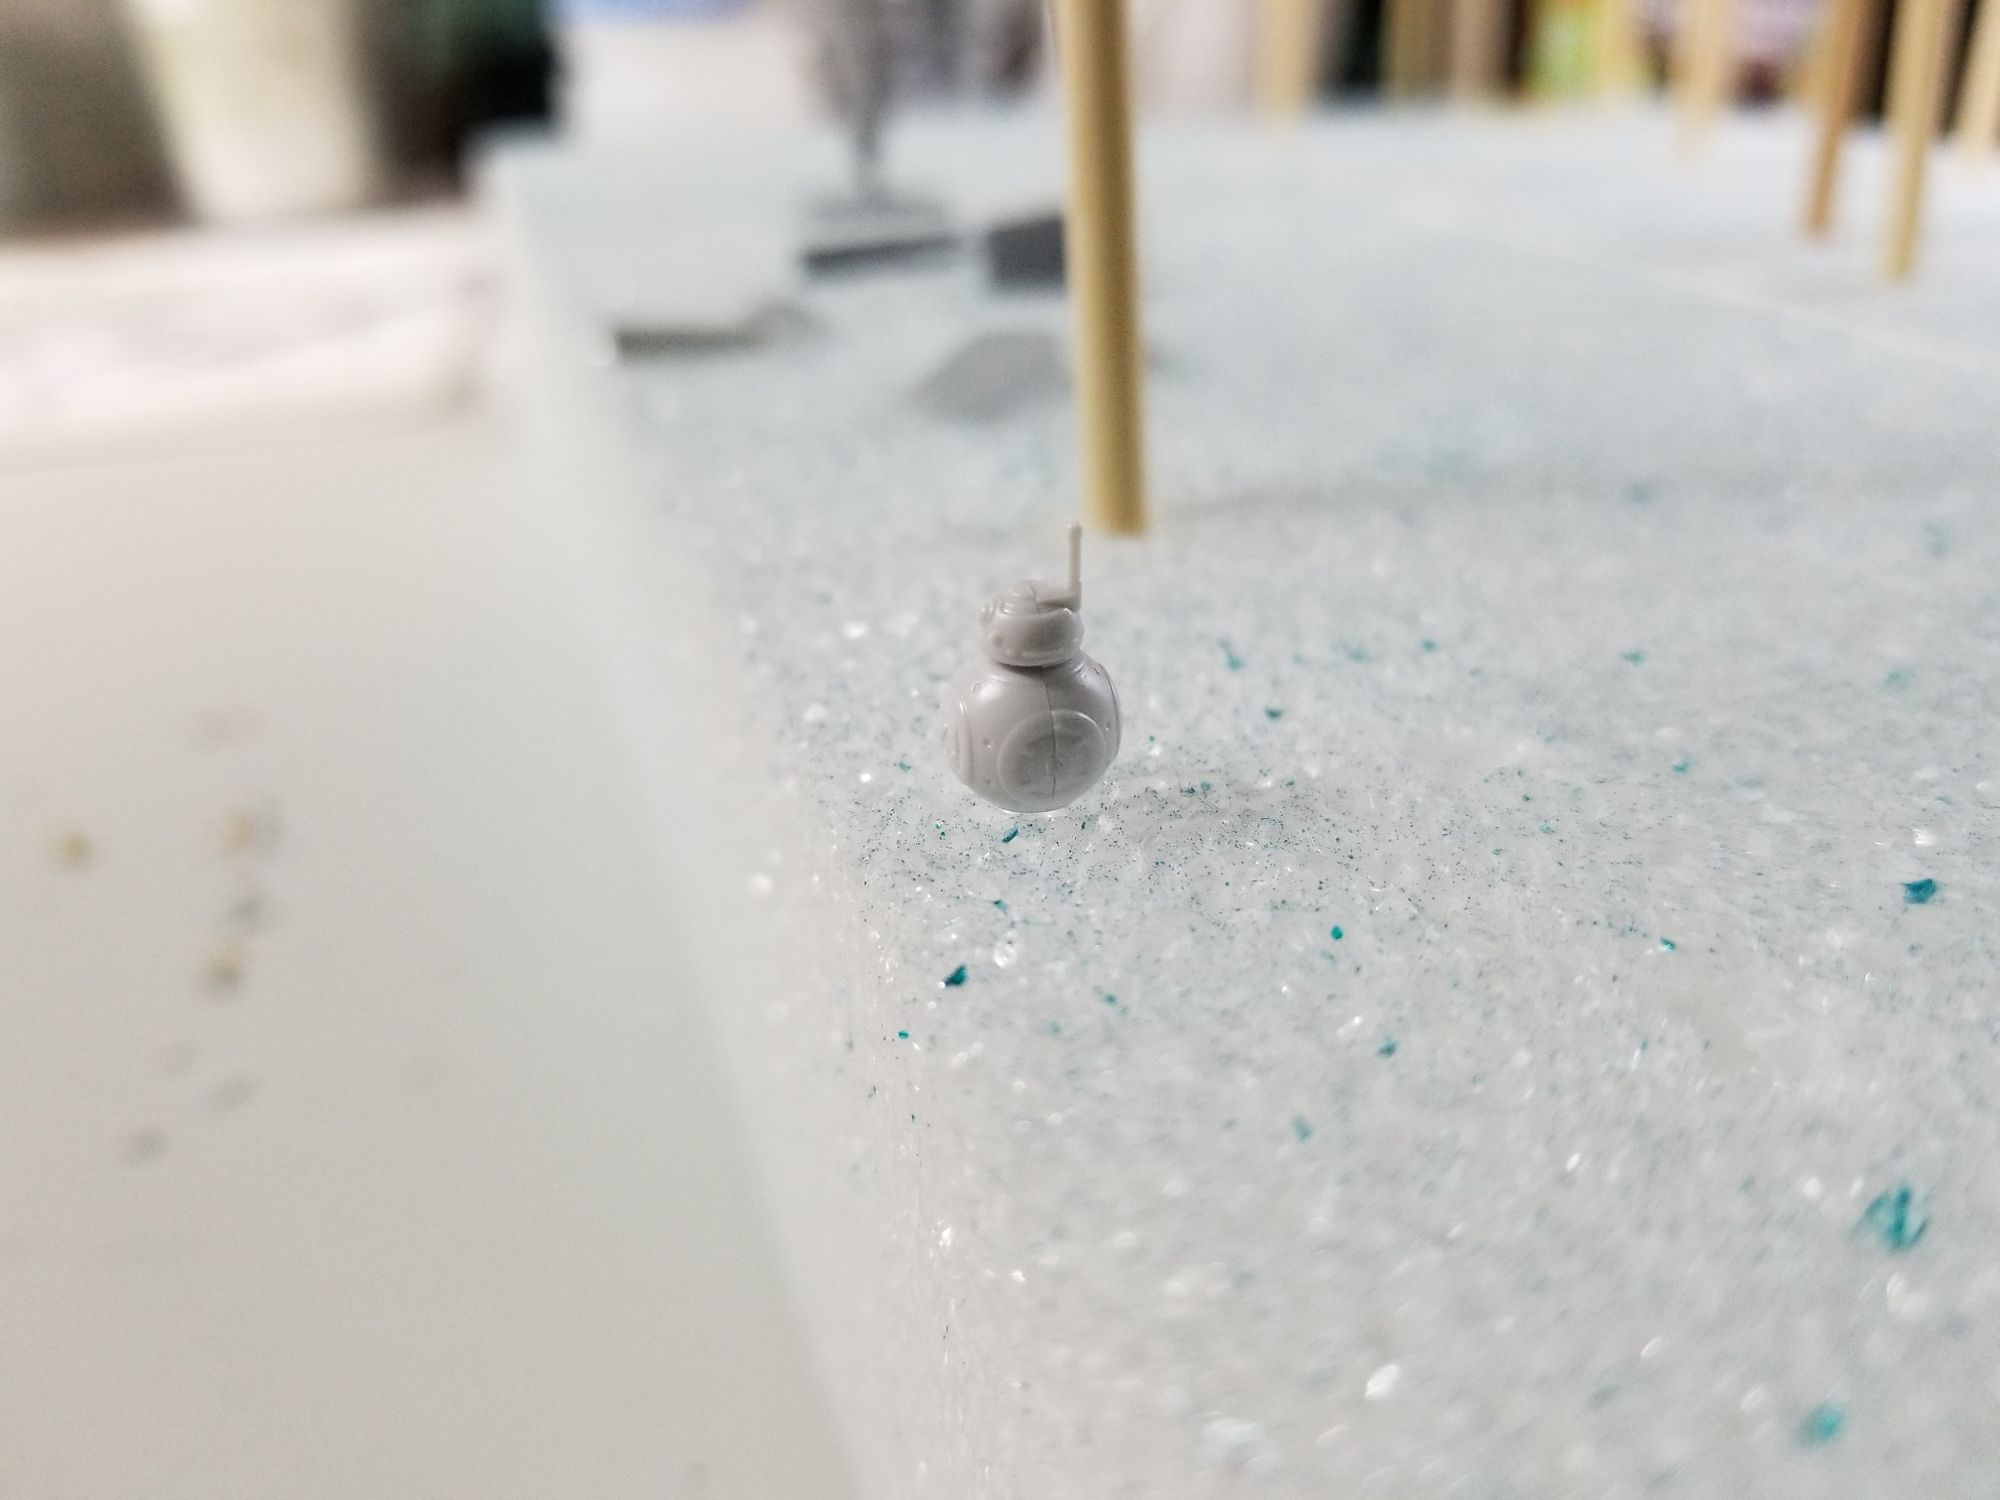
I used Tamiya cement to fuse the two parts together then sanded the line until smooth. This ended up being a mistake since I lost a lot of the side detail from the sanding. You can't really tell after it was painted though.
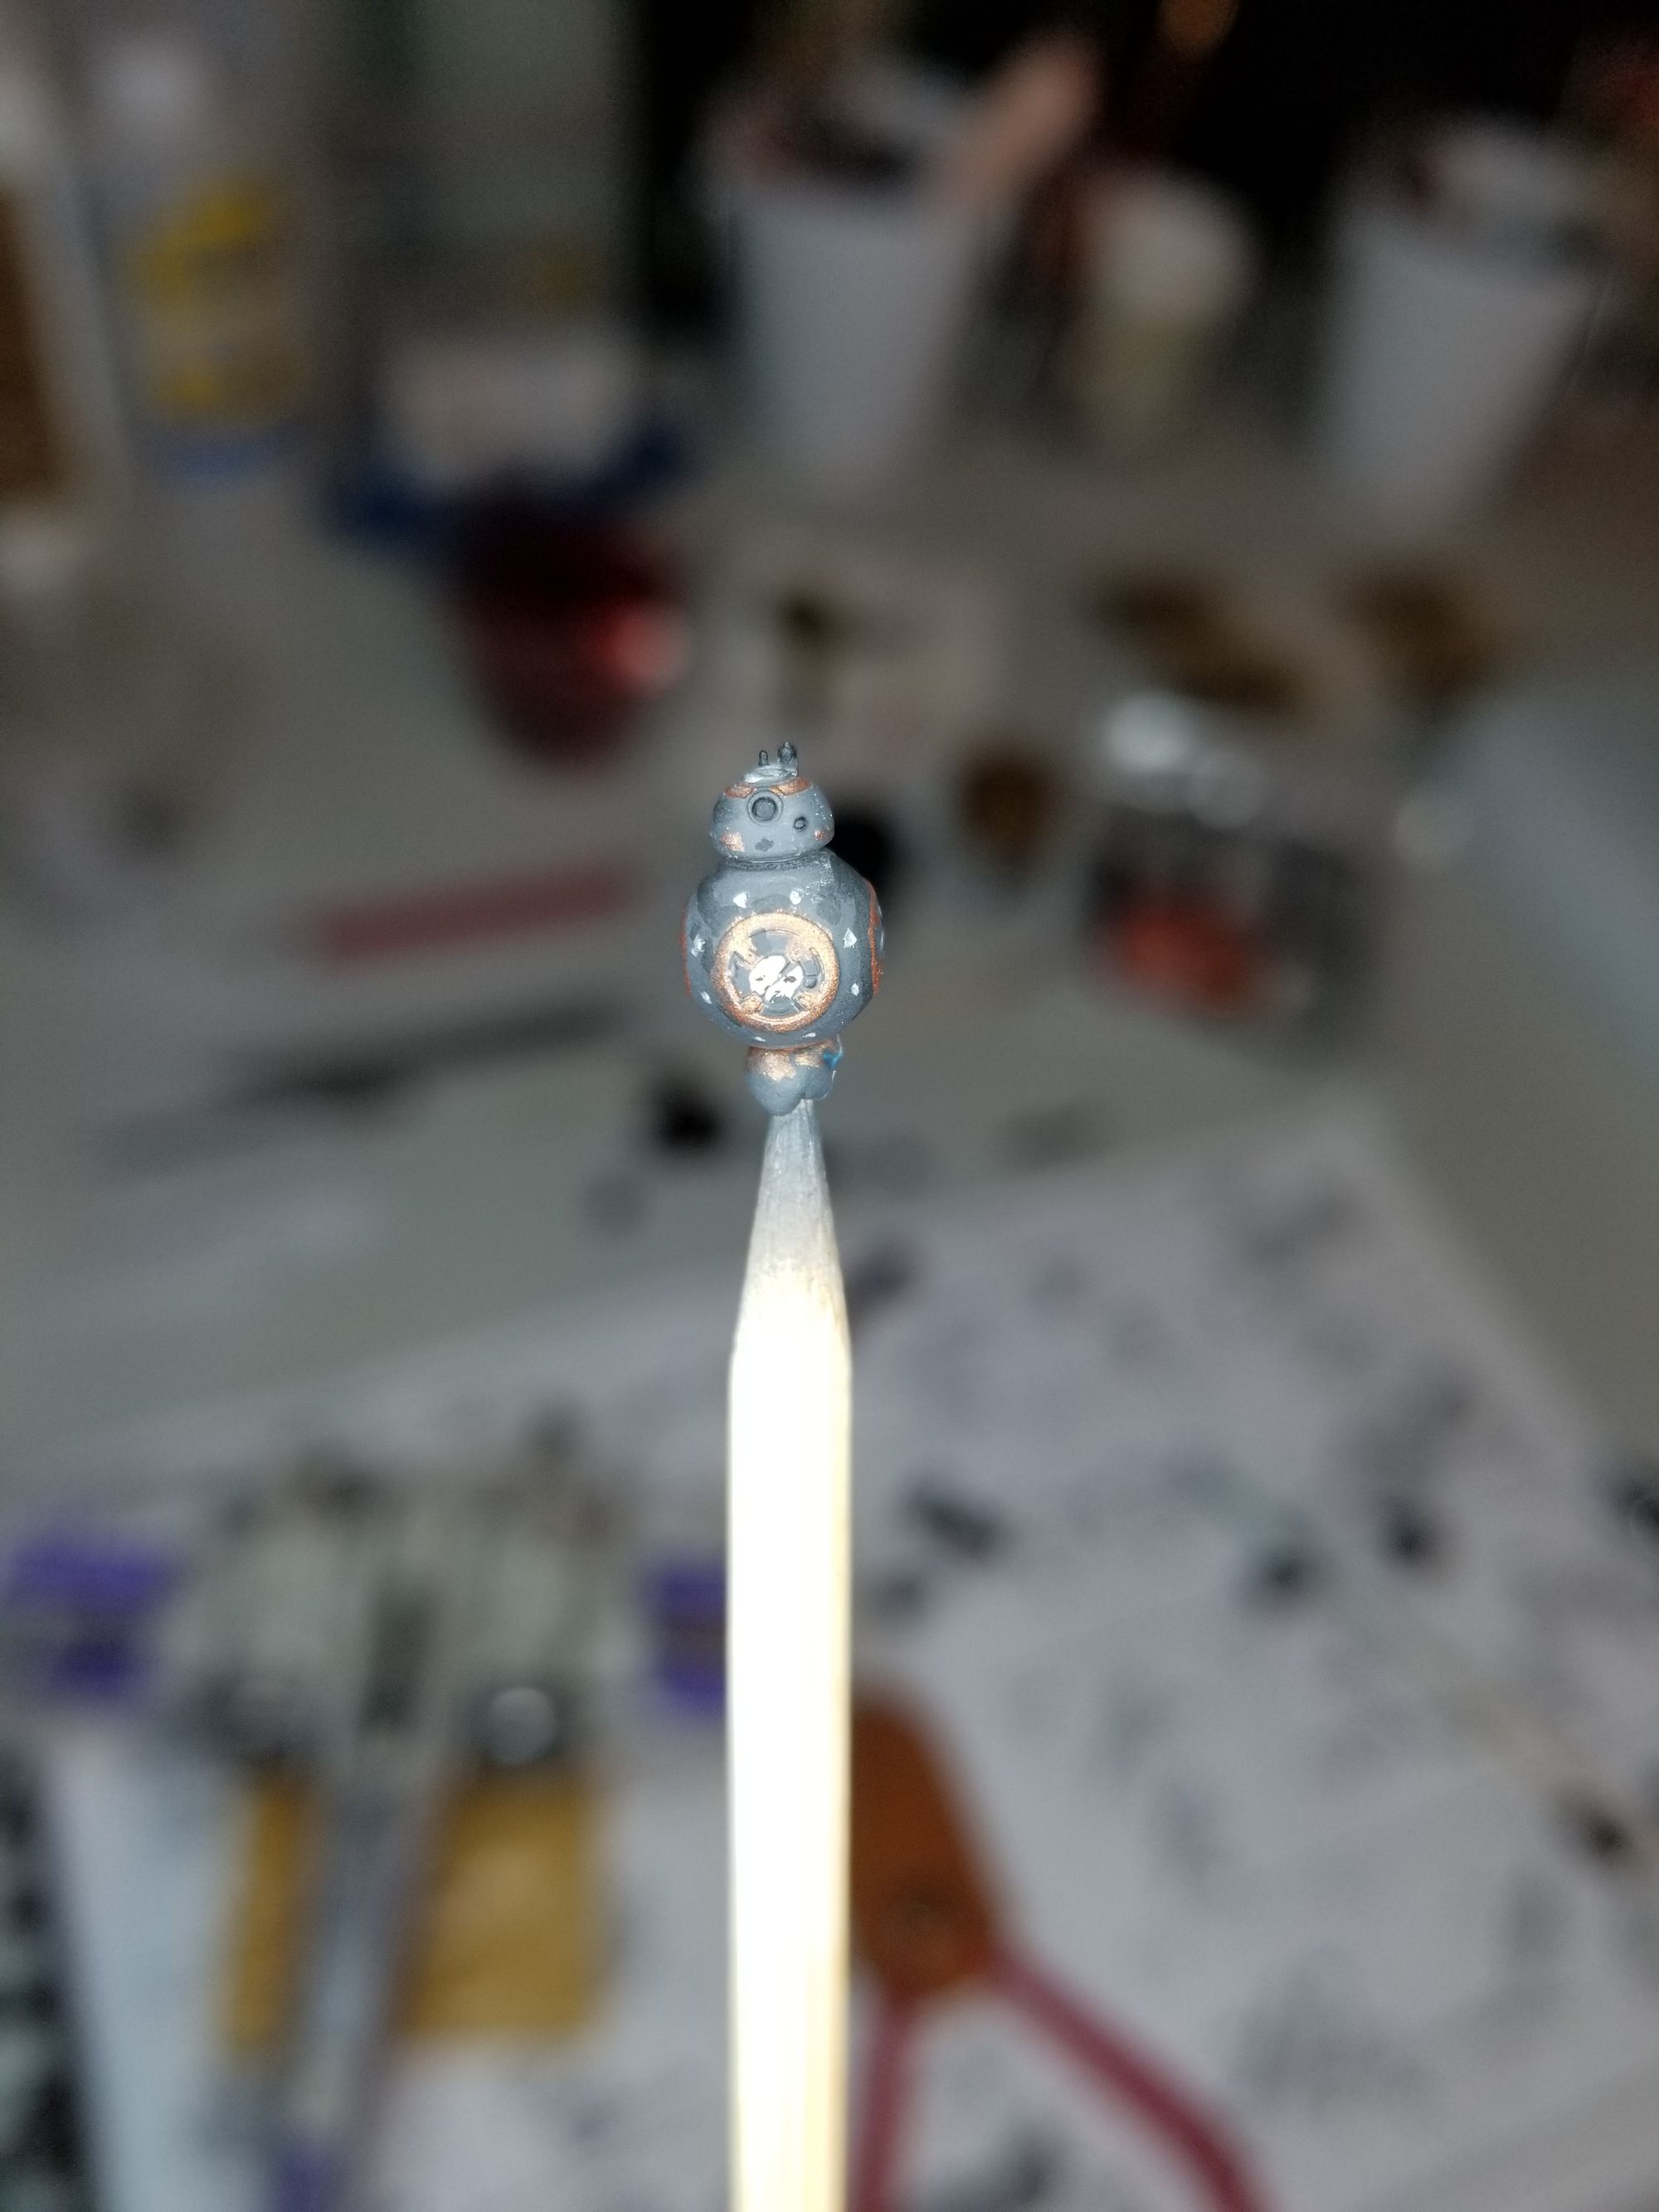
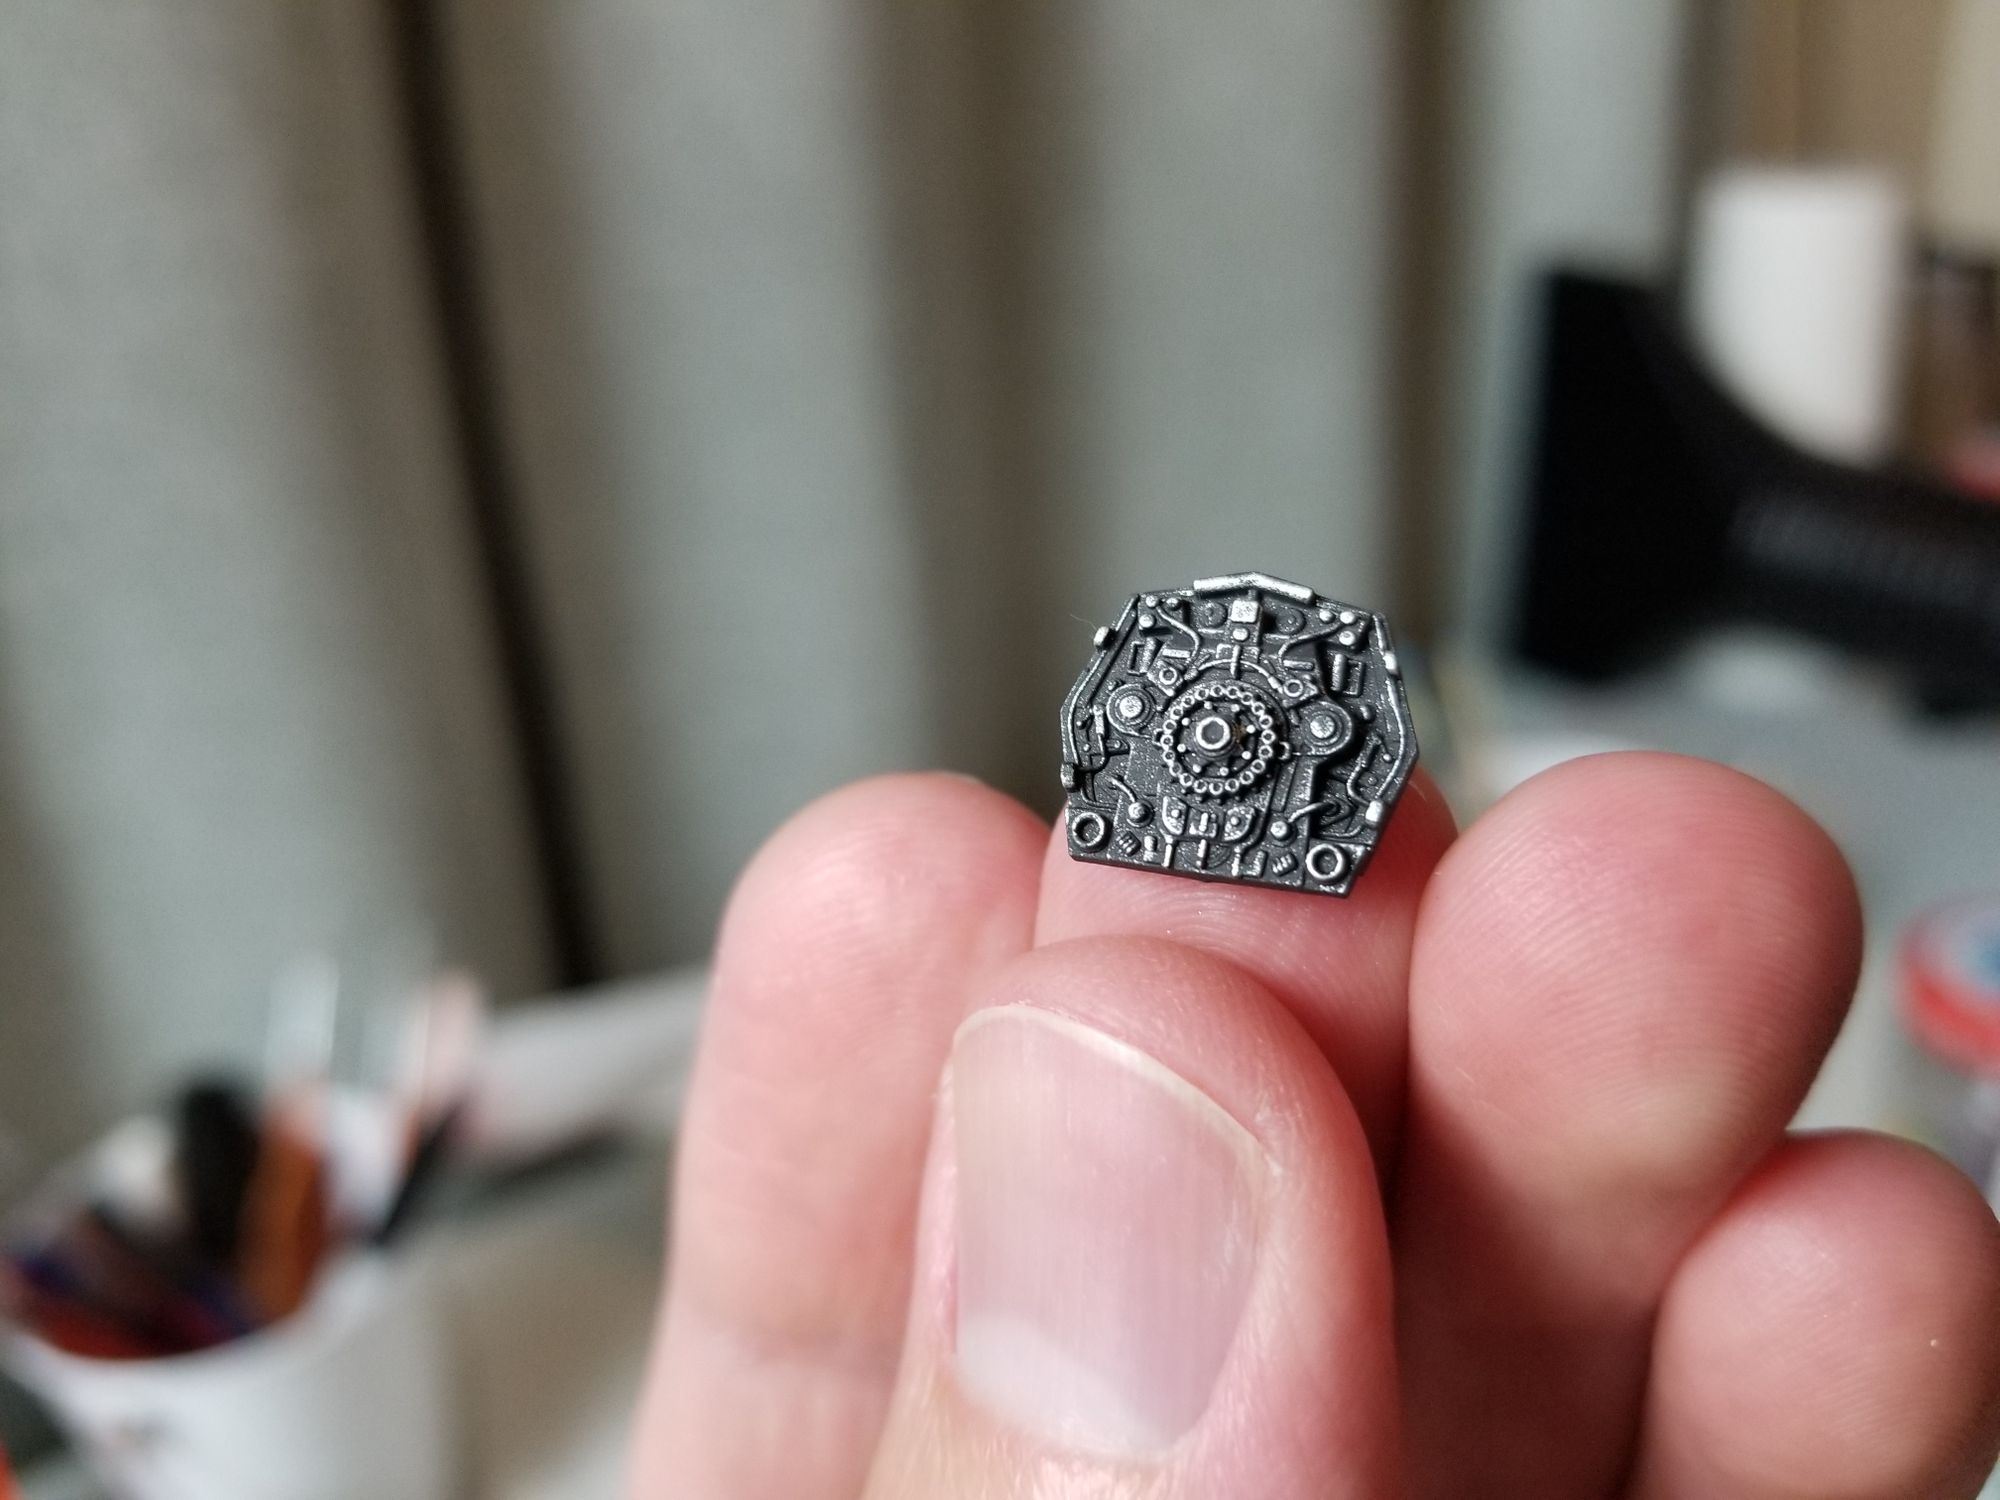
I used a random mix of Tamiya X-1 Black with Tamiya XF-19 Sky Grey to a dark grey color. I then hand painted the copper and aluminum bits with Tamiya XF-6 Copper and Tamiya XF-16 Flat Aluminum. Because my hand is not steady at all, I was pretty sloppy. So I mixed another round of dark grey to cover some of my metallic mistakes. I then painted random bits in this other dark grey color to make it look like intentional paint variation. In reality, I just couldn't replicate the original dark grey color properly.
The eye lenses were painted black and the whole thing was given a flat Alclad top coat. I then went back over the lenses with some Mr. Color clear gloss to give them a shiny appearance. The BB unit was complete. I call it BB-Q:
Oh, and I broke the antenna while assembling which immediately fell into my carpet and was lost forever. Where is Rey when you need her?
Lastly, I painted some detail in the cockpit using various random colors.
I let the X-wing's oils dry for about 2 weeks then masked off the metallic bits, and sealed it all up with the Alclad flat top coat.

I am thrilled with how this turned out! It was a lot of fun learning these new techniques and putting my new airbrush through its paces.

Thanks for reading!
You can find me on Instagram @GurStudios.
Have a nice day.